Category: Uncategorized

  • old-school essentials: the incandescent grottoes, part i

    old-school essentials: the incandescent grottoes, part i

    The other night I took my party of characters into the ruined temple in the OSE written adventure called The Incandescent Grottoes.

    We didn’t get far. In fact, we only got to the second area before we had to turn back.

    In this adventure, you are supposed to have a monster encounter every 2D6 x 10 feet, and that’s exactly as far as we made it. I rolled on the encounter table and had to face three troglodytes, which was perfect because that was the area we had entered, the troglodyte part of the grottoes, where the dead troglodyte is found.

    We won without anyone dying, but you have to roll to avoid Poison whenever you melee fight troglodytes, evidently because they smell so bad, and so we took a lot of damage and therefore had to retreat out of the grottoes.

    Furthermore, even though the room with the dead troglodyte has crystal grottoes, we couldn’t harvest any of the crystals, the book said, unless we had “proper mining equipment”, which, of course, we did not. I actually think this is a flaw in the adventure design, frankly, because how are you supposed to know you need mining equipment? And where are we supposed to get that? It’s a Level 1 adventure, and the only thing that looks like mining equipment in the Character and Adventure books in the box set is a simple hammer.

    Anyway, not even having a hammer, we left.

    And this brings me to the topic of this post, which is stakes, and what that means for storytelling and player experience.

    This is actually a rather nuanced topic, and I can’t sum up all my thoughts about it at once, so bear with me.

    Basically, in my opinion, treasure is not sufficient stakes. For me to engage with the game, that is. I don’t care about treasure.

    I know that runs contrary to the spirit of OSR type games, where everyone seems to be enamored of this idea of “emergent storytelling”, where you enter into this big sandbox world, and whatever happens during the game is the story. And evidently what motivates your characters to enter into any dungeon is the promise of treasure, and it’s as simple as that.

    Everyone seems to think this is a profound and brilliant idea, superior in every way to scripted adventures.

    It’s not.

    Look, most stories are stories because that’s the way things happened in the real world, and now they are telling you what happened, and that telling is the story. So I’m not saying that a good story can’t evolve out of simple real world events. Most stories happen that way.

    Look at Record of Lodoss War, as a perfect example. Those were just replays of what happened during the game, published in a fan magazine, and they took those replays and turned them into a piece of fiction that became a really successful manga and then anime. All that story from just playing the game.

    However, if you watch Lodoss War, you will notice that there is a lot more at stake than simple treasure.

    I’m not sure you can have any other stakes with the sandbox approach. And I think that would be fine, if you are playing with a group.

    As a solo player, I don’t think it works.

    For me, entering The Incandescent Grottoes felt like an interesting experience, sort of like going on a new hike. I think the writing, and the dungeon design, from what I got to see of it, is really top notch. It might even be worth it for me to continue fighting my way through the dungeon just to see the dungeon, and that might be more stakes than the treasure is worth. It would be, actually.

    But it’s sort of like playing Fortnite in battle royale mode. It’s kind of fun, but not nearly as much fun as it is when you are playing on a team. Because in the end, if you’re playing Fortnite by yourself, who really cares how well you did? At my age, I can assure you, no one cares. I don’t even care. A younger person might think it matters how good at Fortnite they are. It doesn’t.

    So your OSR type adventure experience, played in a group, might be worth something in the end even though the only thing of value in this sandbox world is treasure, because of the shared experience you had playing with others. You don’t actually even need a story. Who said these games have to be about story, anyway? Can’t they just be about the experience?

    But as a solo player, I think you need one. You need some reason to do it, you need something at stake.

    Partially, I think this is because stories are more personal and more individual. Sure, you might be one of many sitting in an audience in a theater somewhere, or there might be other people sitting on the couch with you in front of the tv, or there might be others in the car with you when you’re listening to a book on tape, but your story experience is your own. It’s a one to one communication.

    And I think when you’re alone, that’s what you are craving. With other people at the table, maybe not so much.

    That’s the way video game RPGs work. Or at least, the non-MMORPG ones. I never got into the latter, and maybe that’s why. The “MM” in MMORPG stands for “Massive Multiplayer” and those games are just giant sandboxes. They work as sandboxes because they are multiplayer. Me, just playing by myself, never really saw the appeal in them other than the curiosity of exploring the world that the creators designed. Which has its own value, but really can’t hold your attention for long.

    So, to sum up my experience so far with Old-School Essentials, I would say that it’s an interesting world, and I like the curated feel to everything, instead of the kitchen-sink approach to world and game building that 5e takes, for example. It’s more coherent and I think stronger for that.

    But I might have to write my own adventures for it. And I’m going to have to figure out how to do that and keep it interesting for me then as the player.

    PS: As a final word on a related topic, I thought I might say something about “railroading”.

    Evidently, railroading is the cardinal sin of TTRPG design. Ever since I started playing these games, which is less than a year now, I’ve heard people talk about this concept of railroading and how it’s synonymous with poor adventure design.

    Yea, not really.

    Look, if you sit down at the game table and want to just do whatever you want and go wherever you want and have everything in the universe available and open to you, then play an MMORPG. Don’t play Old-School Essentials or 5e.

    Why do I say this?

    Well, as someone who has only ever been a dungeon master, except for my solo adventures, I can tell you, it’s really hard to DM for that kind of scenario. Almost impossible I would say. And I’ve tried because sometimes it was hard to get the kids I was DMing for to stick to the adventure. Or even the rules.

    And I know some would say that there are DMs across the world who pull it off with flying colors. And to that I say, BS. I’ve watched some of these non-railraody “adventures” on YouTube, even on some game designer’s channels, and I have not been impressed with anything going on at the table.

    I think all of these people who complain about railroading should try to DM for once, and actually do it for real. Let their players do whatever in the game world they want to do, and see how this works. I bet you it’s the last time they DM.

    It could provide some fun, granted. Mayhem might ensue and that mayhem could be good for some laughs. Fine. Great.

    But that’s lame, as far as I’m concerned. It’s not something I would ever take part in. I’ve got laundry to do.

    There has to be some kind of mission, or purpose to the game. Even in chess, which is a pretty open game in terms of player decisions, there is at least the goal of capturing the king. Even in solitaire, there is at least the goal of creating some kind of order out of chaos. In golf, where you can take whatever route you want, you still eventually have to get the ball into the hole.

    If you don’t have some sort of purpose to the game, it’s not a game.

    What you are playing is make-believe.

    And while all RPGs of any type have an element of make-believe to them, and make-believe can be fun, that shouldn’t be all there is. And if that means the adventure design has to “railroad” you toward something, then good.

    Chess has the board, golf has the trees, solitaire has a limited pile of cards and a limited number of turns. All railroads.

    Thanks for reading.
  • old-school essentials: character creation

    old-school essentials: character creation

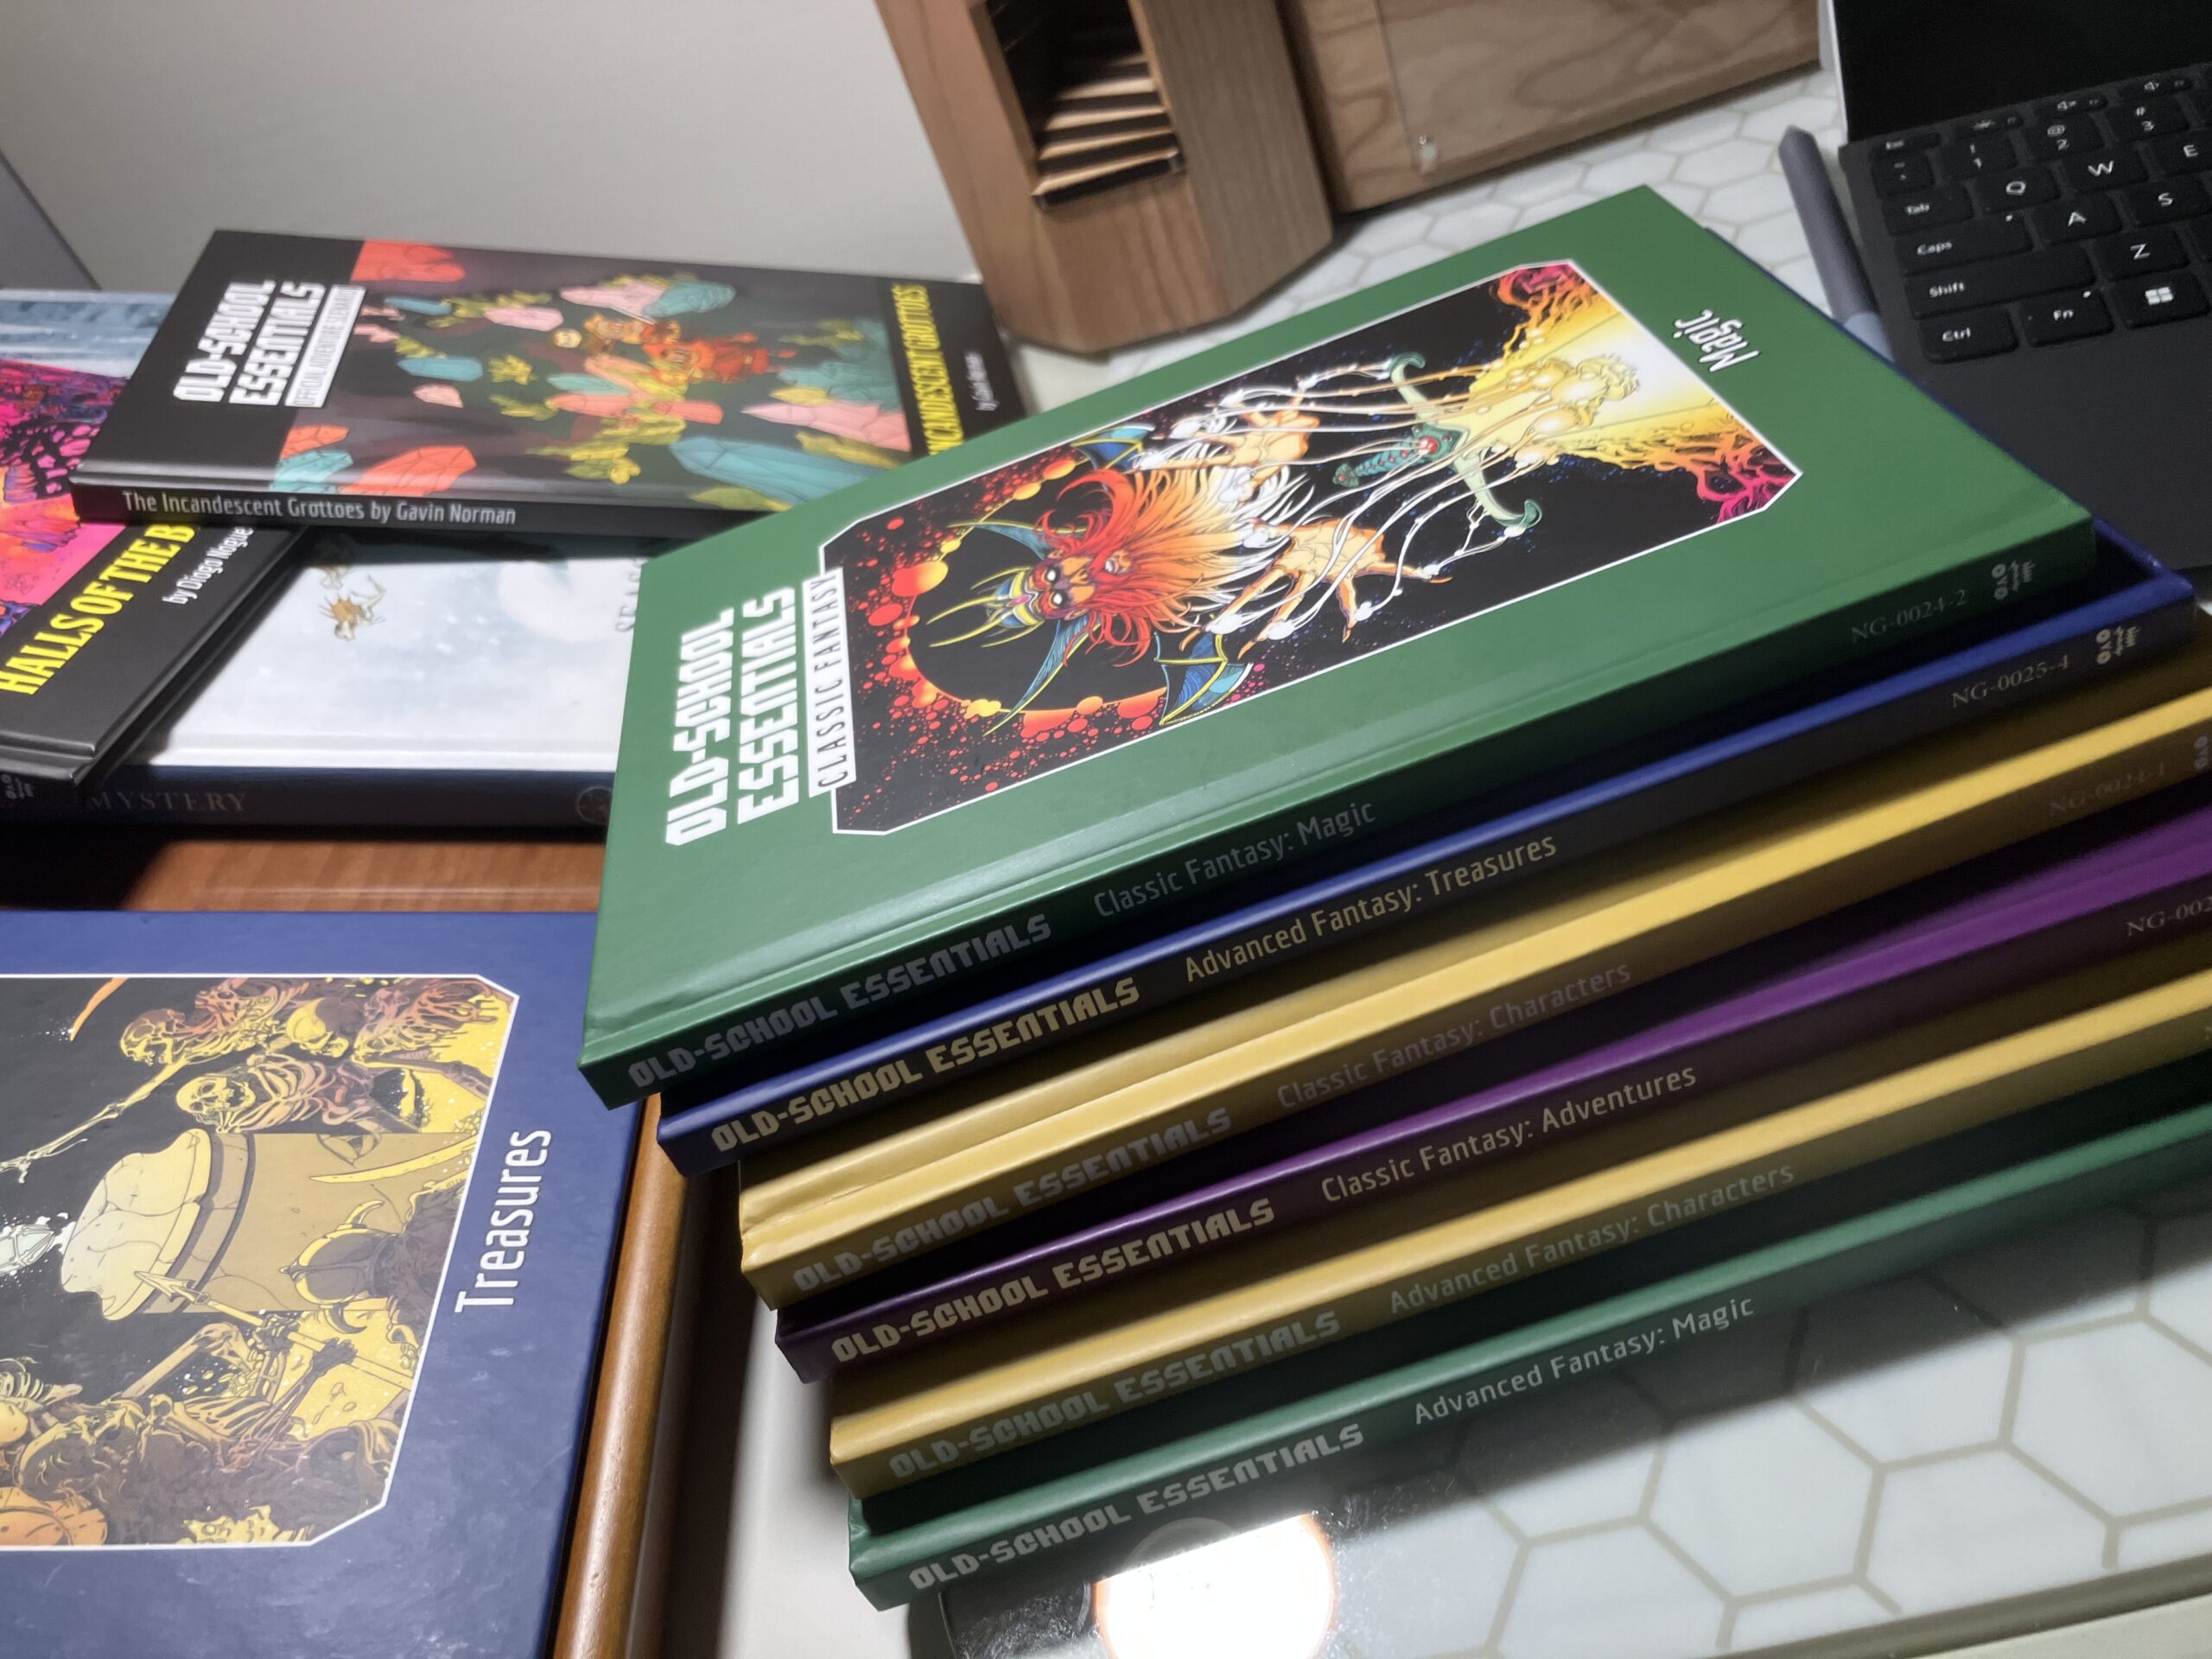
    I’ve had these box sets from Old-School Essentials for awhile now. They were one of the first things I bought after D&D: Welcome to the Hellfire Club. I liked the retro covers and the idea of playing Dungeons and Dragons in the same manner as the characters from Stranger Things would have played it.

    I also liked the idea of simplified combat and rules. One of the things I had a hard time with when I was DMing for the kids is trying to keep the combat moving. It was just so slow and there wasn’t a whole lot I could do to speed it up. Old-School Essentials promised to remedy this problem.

    Hopefully, one day I’ll convince the young ones that this is actually Dungeons and Dragons, and not something else, and actually more similar to what the Stranger Things kids would have been playing. But until then, I guess I’m going to have to play it solo.

    So I got around to creating some characters today. I find that character creation serves as a good orientation to any game, and game materials, and that proved to be the case here. I had glanced through the A5, table-friendly sized booklets included in the box sets (both the Classic and the Advanced sets), but never really dug into them. I had to do that today to create the characters, and I am much more familiar with the contents of the booklets now today than I was before.

    Character creation was pretty straightforward, especially compared with 5e, and I thought I would just share with you the characters I created, because I’m going to start running through the two adventures I own, The Incandescent Grottoes and Halls of the Blood King, solo.

    But there were two things that kind of tripped me up. First, your AC (Armor Class) is a combination of your armor and your dexterity modifier. On the table which gives you your dexterity modifier, the higher your base score in dexterity, the higher the bonus to your AC it gives you.

    Here’s the thing, you don’t want a higher AC. So chainmail, for example, has an AC of 5 while simple leather armor has an AC of 7.

    Any shield is listed as giving you a +1 bonus to AC.

    This confused me.

    You have to read the fine print in the Dexterity section for the answer. It says that any bonus to your AC lowers your AC score. But the way it is written in the book is always with a plus sign. Pretty counterintuitive if you ask me.

    Also, the THAC0 table is difficult to understand if you just look at it in the Adventure booklet. The THAC0 table tells you whether your attacks hit. To really understand it, you need to reference a few different THAC0 tables, both the one included in the Adventure book but also the ones in the Character’s booklet, and you should probably consult the Monster’s stat blocks as well. That was the only way I could figure out how to make it work.

    There are advantages to having these slim volumes in the box set, in that they are easier to manage at the table, but I found it necessary to have at least two of them open at all times in order to understand what was going on. Compartmentalizing all the information isn’t actually possible, as attractive as it might seem.

    I chose the method of character creation offered in the Advanced boxed set where you can choose a race first and then a class. So that way you can have a Drow Assassin, like I did below. I thought this made more sense to me and also allows for the other available option of allowing for multi-classing. Because obviously now that Drow would belong to the Drow, and also the Assassins. That seemed an intuitive way of allowing for multi-classing, and the book offers no guidance on how to do that, so this way makes sense to me.

    Anyway, here are the characters I created:

    *odds of breaking through doors

    Name: LilaFemaleHalf-ElfMagic-UserLevel = 1HP = 7AC = 9
    Str =12 (no melee bonus, 2 in 6 chance*)Int =17 (native language +2, literate)Wis = 8 (-1 magic saves)Dex = 7 (AC -1, Missel -1, Initiative -1)Con = 15 (+1 to HP)Cha = 11 (no change to NPC reactions, max retainers is 4, their loyalty is 7)Prime = Int + Str (5% experience bonus
    Languages: Lawful, Common, Elvish, Dragon, Halfling2 Torches (6 pack), 1 large sack, 1 small sack, 1 iron spikes, 2 tinder boxes, 1 backpack, 2 iron rationsDagger x 5 1D4no armorSpells: Magic Missel 1D6 + 1gold = 41
    Name: BrodMaleHumanBarbarianLevel 1HP = 7AC = 4
    Str =18 (+3 to melee, 5 in 6*)Int = 5 (native, illiterate)Wis =9 (magic saves +- 0)Dex =10 (0 AC, 0 Missel, 0 Initiative)Con =14 (+1 HP)Cha = 14 (NPC reactions +1, Max retainers is 5, loyalty is 8)Prime = Con + Str (5% bonus to experience)
    Languages: Neutral, Common1 large sack, 2 torches (6 pack), 2 iron rationsTwo Handed Sword (1D10)Chainmail 5 [14] + optional shield +1 bonusGold = 21
    Name: DavilMaleDuergarThiefLevel 1HP = 5AC = 6
    Str = 7 (melee -1, 1 in 6 *)Int = 9 (native, illiterate)Wis = 13 (+1 magic saves)Dex =13 (+1 AC, +1 Missel, +1 Initiative)Con = 14 (+1 HP)Cha =5 (NPC Reactions -1, Max retainers is 2, their loyalty is 5)Prime = Dex (5% experience bonus)
    Languages: Lawful, Common, Deepcommon, Dwarvish, Gnomish, Goblin, Kobold2 Torches (6 pack), 1 iron rations, 1 backpack, 1 thieves tools, 1 grappling hook, 1 crowbarTwo Handed Sword (1D10)Leather 7 [12]Gold = 0
    Name: SsilvisstrraaFemaleDrowAssassinLevel 1HP =5AC = 5
    Str = 6 (-1 melee, 1 in 6*)Int = 14 (native +1, literate)Wis = 8 (-1 magic saves)Dex = 14 (+1 AC, +1 Missel, +1 Initiative)Con = 6 (-1 HP)Cha = 7 (NPC Reactions -1, Max retainers is 3, their loyalty is 6)Prime = Dex (+5% Experience bonus)
    Languages: Chaotic, Common, Deepcommon, Elvish, Gnomish, Human dialect2 torches (6 pack), 1 iron rations, 1 regular rations, 1 small sacksword (1D8)
    2 daggers (1D4)
    Leather 7 [12]

    Shield +1 bonus
    Gold = 8
    Name: DrewMaleHumanBardLevel 1HP = 4AC = 7
    Str = 9 (0 melee, 2 in 6*)Int = 9 (Native, literate)Wis = 7 (-1 magic saves)Dex = 10 (0 AC, 0 Missel, 0 Initiative)Con = 10 (+- 0 HP )Cha = 13 (+1 NPC reactions, Max retainers is 5, their loyalty is 8)Prime = Cha (+5% experience bonus)
    Languages: Common, Neutral2 torches (6 pack), 1 iron rations, 1 large sacksword (1D8)Leather 7 [12]Gold = 13

    It turned out to be a pretty well balanced party I think. According to the book, you roll your ability scores first, and then pick a class. I actually randomly chose the races, just using dice according to the order in which they appear in the book, but the classes I allowed myself to maximize depending on how the ability scores turned out. That’s the way it tells you to do it in the book.

    I look forward to starting an adventure with these characters.

    Thanks for reading.
  • pirate borg: “trapped in the tropics” replay-exploring eel island

    pirate borg: “trapped in the tropics” replay-exploring eel island

    So there is some good news, in that I actually think this adventure will work okay solo. The adventure book basically explains that you can proceed exploring the island and surrounding sea as a hexcrawl.

    I’ve never done a hexcrawl, but I’ve watched some YouTubers playing solo adventures and a lot of them utilize the hexcrawl procedure to do so.

    I think this will also help me obfuscate some of the events for the reader, because I can just scramble where everything is at, so as not to spoil the adventure for them. For example, the location of the wreck of the Silent Angel doesn’t have to be where the book says it is. I can roll and put it anywhere on the island. Or even on a different island.

    Anyway, the adventure book says to loot the redcoats after the battle, and that’s what I did. It also says you can choose to camp on the beach that night, and if you do so, to roll an encounter, after restoring your HP from the short rest.

    After that, you begin the hexcrawl of the island in any direction you see fit. There are some landmarks with descriptions and areas of interest in the book, but like I said, I can put those anywhere on the island just by rolling, which is what I’m going to do.

    I decided to have them camp. They needed to take a rest anyway to restore HP, and this made sense.

    There was also another reason. Bart, as you remember, is a secret zombie, and so he has to eat the dead every other day or he loses two HP. So I had him sneak away in the middle of the night to go eat the brains of the fallen redcoats (brains are a delicacy for zombies in PIRATE BORG, you literally regain more HP if you eat the brains).

    But here’s the thing, Felicity’s “idiosyncrasy” at character creation is that she’s a “voluntary insomniac”.

    So I had her sneak out after Bart when he steals away in the middle of the night.

    Is she going to discover his secret?

    I decided to make a roll and find out. 50/50 chance. Ten and under, she finds out, over ten, she doesn’t.

    But either way, I decided she would have to make another roll at that time for the encounter. Ten and under, she and Bart are ambushed alone (at least for the first round), and she doesn’t actually learn his secret, or over ten and they are not ambushed until they both return to camp.

    She rolls an eleven.

    Bored with following Bart, she returns to camp. Bart eventually returns back later. She hears him but pretends to be asleep.

    But she does hear something else, and realizes that they are about to be ambushed!

    “Wake up, you miserable dogs!” she cries, springing up with her new Officer’s Cutlass in hand.

    So time to roll for an encounter on the Eel Isaland encounter table. It’s D4 lost redcoats. Turns out to be only two of them.

    They get to go first though.

    The first one shoots at a startled Bart. But he rolls an 11 and with his +1 agility modifier he passes the DEFENSE test on the number.

    The second one rushes at Felicity with his cutlass. He hits! 2HP damage.

    Felicity strikes back though and hits with her Officer’s Cutlass for 3 damage.

    Beltran gets up and attacks the same redcoat soldier with his finely crafted rapier. Misses. Must still be half asleep.

    Bart rolls over, grabs his musket, and fires at the redcoat gunner. Misses!

    Mother Isis calls for Divine Wrath. Hits the redcoat soldier for eight damage. He falls over and dies.

    The gunner decides to charge in with his bayonet as opposed to reloading. So he comes after Bart. He hits! But only for 1HP damage.

    Bart strikes back on the next round with his own cutlass that he pillaged earlier from the redcoat’s friends. But misses!

    Felicity tries to run the redcoat through with her officer’s cutlass, and succeeds for 4 damage. The gunner is defeated.

    They search the bodies and find thirty-four silver pieces, a musket with enough shot for six rounds, a bayonet, and a cutlass. They take the silver and the musket with shot but leave the rest behind.

    They decide to get started exploring the island, as it’s almost daybreak, but after taking enough rest for Felicity to regain her HP.

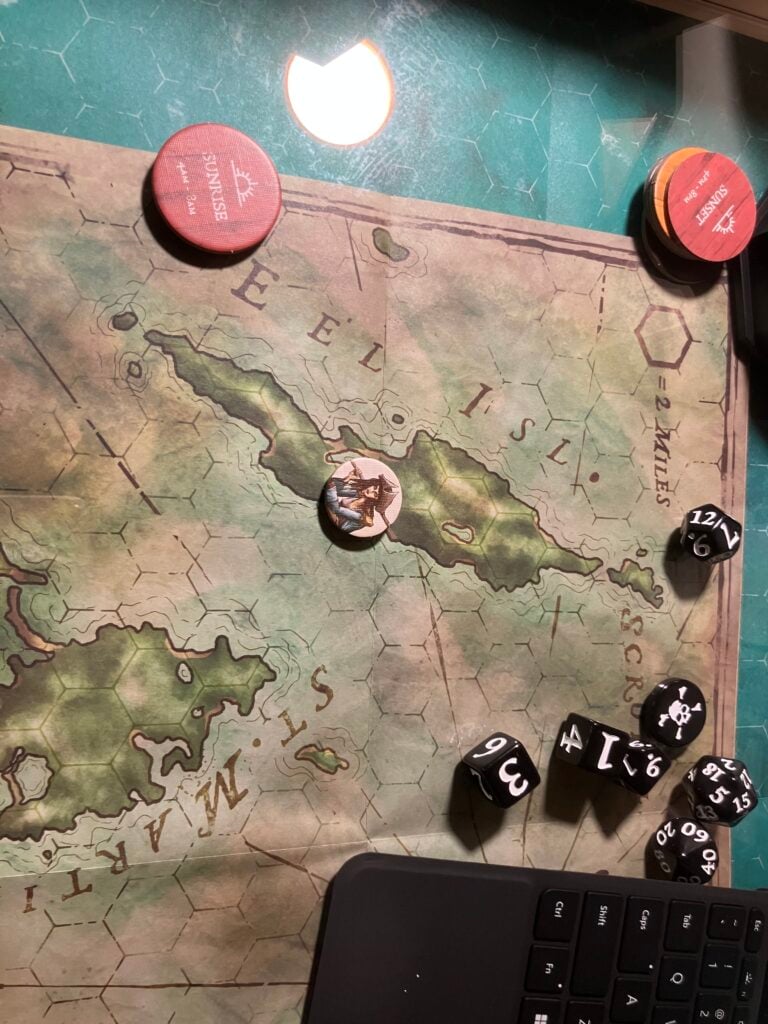
    So the hexcrawl begins. There is an included hex map of Eel Island and its surroundings. Each hex represents two miles. The party can travel four miles, or two hexes, per watch. There are six watches in a day, and you are provided tokens to track them.

    But using this rigorous method of hexcrawling is optional. If you want to track the hours and make a camp at night and post a watch, then these tools are here for you to use.

    You don’t even need to hexcrawl at all, as the guidebook explains, you can just go from point of interest to point of interest if you want and skip the crawling.

    As mentioned earlier, I’ve watched some YouTubers do the hexcrawls, and they insist that tracking information is more engaging than just rushing from plot point A to plot point B.

    So I’ll be proceeding with a hexcrawl, and you just roll on the island’s encounter table each time you move to a different hex.

    I did start in the middle of the island, which is where the book recommends. I decided to head south.

    Like I mentioned above, there are certain points of interest on this island that are given in the book. I’m going to keep those points of interest but change their locations, just in my head, and then I’ll roll a D4 to see which one it is when I get there.

    So I have it it my head that there is something on the southernmost tip of the island. There is a lot of jungle between the party and there.

    The first roll is a six. No encounter.

    I don’t need to replay the entire crawl to the southernmost point, just know that they arrive during the afternoon watch after defeating a marooned pirate and a lost redcoat and are now twenty-six gold pieces richer.

    So what’s at the southernmost tip? Time to roll a D4 and find out.

    Shoot. It isn’t the Silent Angel. But it is the next best thing. It’s the high point of the island, and the guidebook says you can see the wreck from your vantage point. So I just decided on which hex it was on.

    You can also see a few other things with the naked eye. You can see the Scrub Island Outpost, the coast of the island of St. Martin, the Wharf Rat sailing around the tip of St. Martin towards Gibbet Town, and a sloop moored at the docks of Scrub Island.

    Again, I’m going to scramble these locations for the replay, so as not to ruin them, but I’ll use the new information.

    Because Felicity rolled up a spyglass at character creation when she rolled for “fancy gear”, we can see a few other things as well.

    You can also now see the redcoats’ longboat, which I’ll put on some random hex, the colors flown by any ship within 10 miles (not sure why this is relevant. Maybe later?), volcanic smoke rising in the direction of Pelican Island, and Mr. Oxley laughing aboard the deck of the Wharf Rat with other mutineers.

    That makes Felicity mad.

    So the next entry I’m going to hexcrawl back up the island to the location of the Silent Angel. I may or may not try to commandeer the redcoat’s longboat on the way, but it sounds like things are moving right along!

    Thanks for reading.

  • pirate borg: “trapped in the tropics-opening” replay

    pirate borg: “trapped in the tropics-opening” replay

    So I suppose I should give you all a spoiler alert. It didn’t occur to me to do that with the Deepfall Breach replays from Dragonbane, but I think that’s because there wasn’t really a way to spoil anything–you’re given all the waypoint information at the beginning of each mission and so much else is random.

    But “Trapped in the Tropics” is a set adventure, at least in parts as far as I can tell. So your opening is going to be the same one as below. Just fair warning.

    So “Trapped in the Tropics” starts with your characters, mine are named Bart and Felicity, a zombie buccaneer and a rapscallion medic, in the employ of a Spanish conquistador named Beltran de Ordaz and his partner, an inquisition nun named Mother Iris. They have employed you to help them find the wreck of the Silent Angel on or around Eel Island. The ship was carrying a precious item called the Tongue of Toth. Or, at least, Beltran and Mother Iris believe so. And they want it. Bad.

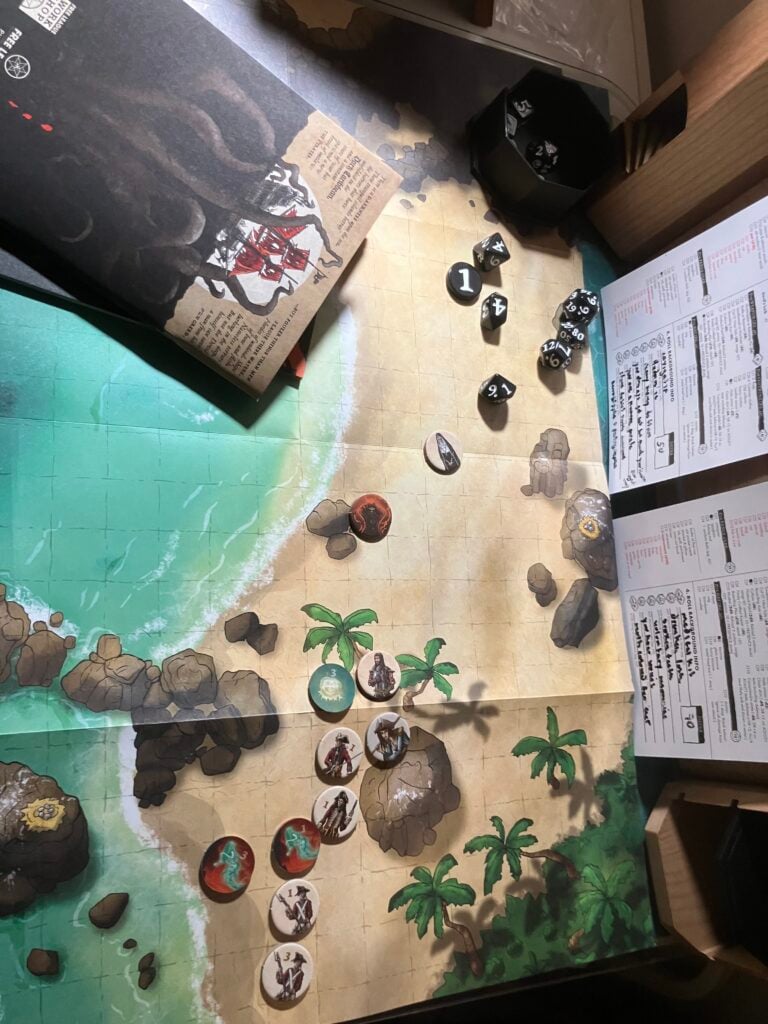
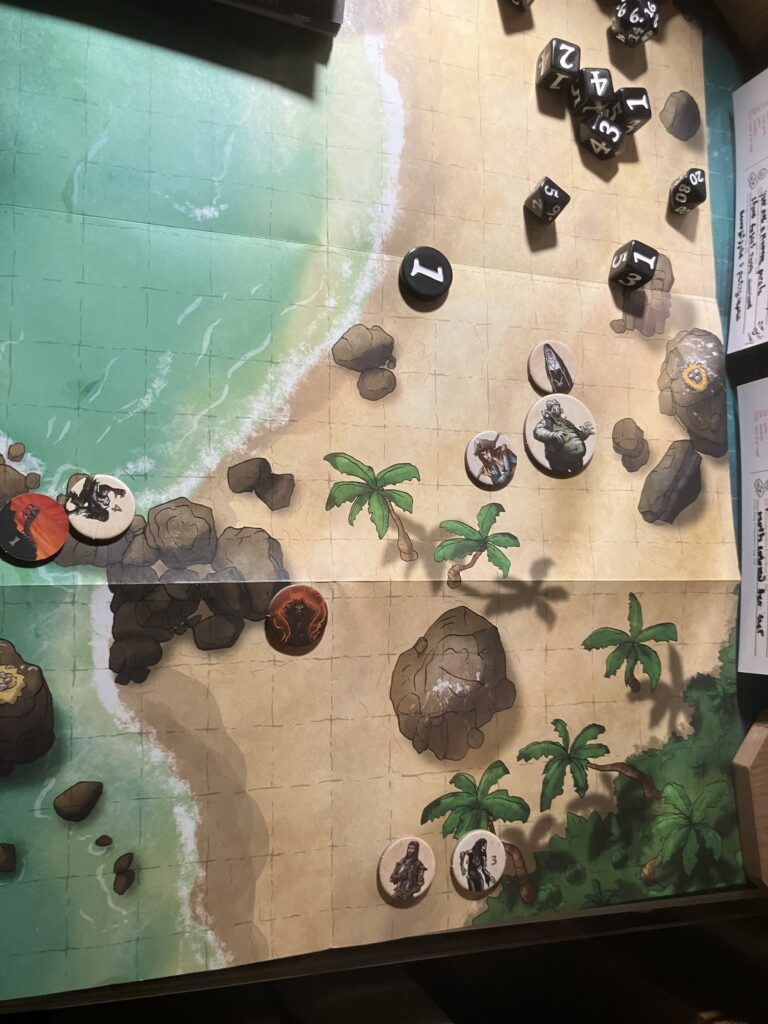
    The adventure starts in media res, as the guidebook is quick to point out. Your group of players, plus the conquistador and the nun, appear at full sprint out of a jungle and onto a beach, a map of which is included in the starter set. You don’t know what they are running from.

    But you do know what they run into, and that’s a column of redcoats advancing up the beach. The guidebook actually tells you where to put the parties on the map. Battle begins, which PIRATE BORG calls “violence”.

    So, a word about in media res. It’s not always advisable to begin a story this way, because it’s easy to confuse the reader. Here, I made a mistake. Because in the adventure module, zombies appear on the same page as the redcoats, but after them, and I just assumed that I fight the redcoats and then the zombies. Which is what I did. And I’m trying not to ruin everything because I’m playing solo, so I’m just scanning things.

    But what was supposed to happen, was that the zombies appear out of the jungle after your first round of combat with the redcoats, and then immediately start attacking the redcoats. That would have made this a lot easier of a battle. And it would have made more sense. It was the zombies you were running from.

    Anyway, that’s not how I played it though. I fought the redcoats first and then fought the zombies.

    You were supposed to have nine redcoats. I used seven. There are three different types: gunners, soldiers, and officers.

    I don’t know that play-by-play reportage of fights is all that compelling, but in this case, I’m going to do it because it might be your first introduction to “violence” in PIRATE BORG and it will give you a better feel for how the game works.

    So the guidebook says that you have the initiative, although usually enemies have the initiative in PIRATE BORG. You don’t roll for it unless the situation requires it for some reason. So Bart, my buccaneer, went first. His only weapon is a musket, which deals 2D6 damage.

    Every character in your party makes the same DR12 (difficulty rating) roll for melee combat, ranged combat, and defense, just applying their own individual modifiers to strength, presence, and agility respectively.

    Bart fires with his musket, and because at character creation his class “feature” was two (rolled a D6), he is a “crack shot”, which means the DR for ranged combat is actually 10, not 12. He hits. Rolls 2D6 for damage and comes up with 9 total. Redcoat soldier is defeated.

    Then Beltran moves into position (everyone’s movement is thirty feet per turn) in order to fire with his flintlock pistol. Rolls a 16. Hits. Does 4HP damage. A redcoat gunner is defeated. I just used Bart’s ability modifiers for him. Basic stats for him are given in the guidebook but not ability modifiers.

    Felicity only has a cutlas, so she moves towards the redcoat column but takes cover behind a rock because she can’t reach them.

    Mother Iris uses an attack called Divine Wrath, which is sort of a spell. Using Bart’s stats again. She misses.

    Now it’s the redcoats’ turn. Both remaining soldiers can reach Beltran. First one hits (Beltran failed the defense agility test). Rolls for 4 damage, but Beltran has a Conquistador Plate (armor) which offers 1D6 protection. He rolls a 5, so no damage.

    Second redcoat soldier misses with his cutlass.

    The redcoat gunners shoot. First fires at Beltran with his musket. Hits. 2D6 damage. Rolls 9 total, reduced by Beltran’s armor to 4HP damage.

    Second gunner misses Bart.

    Officer moves up around the rock to get a clear shot at Felicity with his flintlock, but she dodges.

    PCs turn.

    I will mention at this point that I’m grateful again for the little touches this starter set provides. The weapon’s information page is the middle page in the staple bound book, which means it flips open right to all the weapon’s information, which you use a lot in battle. It’s a nice quality of life touch.

    Anyway, because Bart is a buccaneer, he only has to wait one round of combat to reload his musket instead of two rounds, which I took to mean he is reloading this round and not that he gets to go every round.

    Felicity moves in to attack a redcoat soldier, but she misses.

    Beltran hits with his second weapon, a finely crafted rapier, for 1D8 damage. Rolls a 6. The redcoat is defeated.

    Mother Iris tries Divine Wrath again and rolls a twenty, a critical roll. She absolutely flattens a redcoat soldier and does 1D4 damage to the officer standing next to him. Which turned out only to be 1.

    The redcoat soldiers are all defeated, and the redcoat gunners take two turns to reload, so only the redcoat officer can go this round. He moves in to attack Felicity with his Officer’s Cutlass. He hits for six damage. She has 1HP left.

    Bart rolls a 16 on his attack roll, so he hits for 2D6 damage against the officer, which turns out to be 9, but it’s reduced by 1 because of the Officer’s Doublet. He has 1HP left.

    Felicity rolls a 14, reduced to 13 by her -1 strength modifier, but that still hits. Officer is dead.

    Beltran moves up to first redcoat gunner. Hits for 4 damage. Gunner is dead.

    Mother Iris calls for Divine Wrath and misses.

    I just had the final redcoat gunner flee into the jungle at this point.

    But victory is short lived, because five zombies appear out of the jungle.

    PCs have the initiative.

    Felicity moves off because she only has 1HP left.

    Beltran attacks the nearest Deck Ghoul Zombie with his finely crafted rapier. Hits for 8 damage. Zombie is even deader.

    Bart has to reload.

    Mother Iris calls down Divine Wrath on a Deck Ghoul Zombie for 4HP damage.

    Zombies’ turn. First one attacks Beltran with his Claw attack. Beltran dodges with a critical roll, which means he gets an immediate free attack. But he misses!

    Second one hits him but his conquistador plate blocks it out.

    The Grog Barrel Zombie moves up to Mother Iris and hits her with his Slam attack for 6HP damage.

    PCs’s turn. Bart has to move to get a clear shot around the rock at a Deck Ghoul Zombie. Hits, but only for 4HP damage.

    Beltran misses with rapier.

    Mother Iris uses her Cross and Rosary melee attack which does D12 damage against the undead, and hits. She rolls a 12. So Grog Barrel Zombie only has 8HP left.

    Zombies’ turn. First Deck Ghoul Zombie attacks Beltran with his Bite. Does only 1HP damage after its reduced by the armor. But Beltran isn’t out of the woods: he has to pass a TOUGHNESS check of DR8 or else become infected with zombieitis. He passes.

    But the other zombie bites him also!

    He passes again!

    Grog Zombie tries to slam Mother Iris again but misses.

    Beltran attacks now, and misses!

    Mother Iris attacks with her cross and rosary, and misses!

    Bart reloads.

    All three remaining zombies miss their next attacks.

    Bart fires at beginning of next round. Kills one of the Deck Ghoul Zombies.

    Beltran hits remaining Deck Ghoul for 1HP damage. Zombie has 2HP left

    Mother Iris tries her cross and rosary melee attack again. Does 7HP damage. Grog Barrel Zombie only has 1HP left.

    Felicity takes this as her opportunity to reenter the fray and attack the Grog Barrel Zombie. But she misses!

    Deck Ghoul Zombie goes back to Claw attack against Beltran, does 6 damage reduced to 3 by his armor.

    Grog Barrell Zombie tries to Slam Felicity…and misses!

    Beltran misses the remaining Deck Ghoul Zombie, but Mother Iris hits and kills the Grog Barrel Zombie with cross and rosary.

    Remaining Deck Ghoul Zombie flees.

    Victory!

    Phew. That was a long fight. Wasn’t supposed to be that way, but I’m glad I got through it. Learned a lot about how combat works in PIRATE BORG.

    I also took the opportunity to level up Bart and Felicity afterwards, which I think they deserved. You do this by rolling a D6 against their ability modifiers. If you outroll them, you increase the modifier by one. Every roll beat their modifiers, except for one, Felicity’s agility score. If you lose, you reduce it by one. So she lost one agility level to her modifier. But all in all, the rolls couldn’t have been much better, and Felicity is actually a much more balanced character now.

    My first impressions of PIRATE BORG combat is mostly positive. I don’t know if I will tire of its simplicity, but I like how fast it moves and how intuitive it is. It’s simple and effective, as opposed to, say, 5e’s combat which can slow to a crawl.

    I like the assets included in the starter set. The map is well made, the monster and player tokens are well illustrated, and the adventure booklet is well put together.

    I will say that this booklet seems like quite the adventure. It took me over an hour to get through this battle (that’s with taking notes), and I barely dented the adventure. I can see this going on for several gaming sessions, which is a pleasant surprise. I’m not sure why I’m surprised, but there’s definitely a lot to do on Eel Island from the looks of it.

    I look forward to chronicling it here on this site. I just have to figure out how to do that without spoiling the whole adventure for whoever reads it.

    Take care!

  • pirate borg starter set & wyrmwood gm screen: first impressions

    pirate borg starter set & wyrmwood gm screen: first impressions

    Hello.

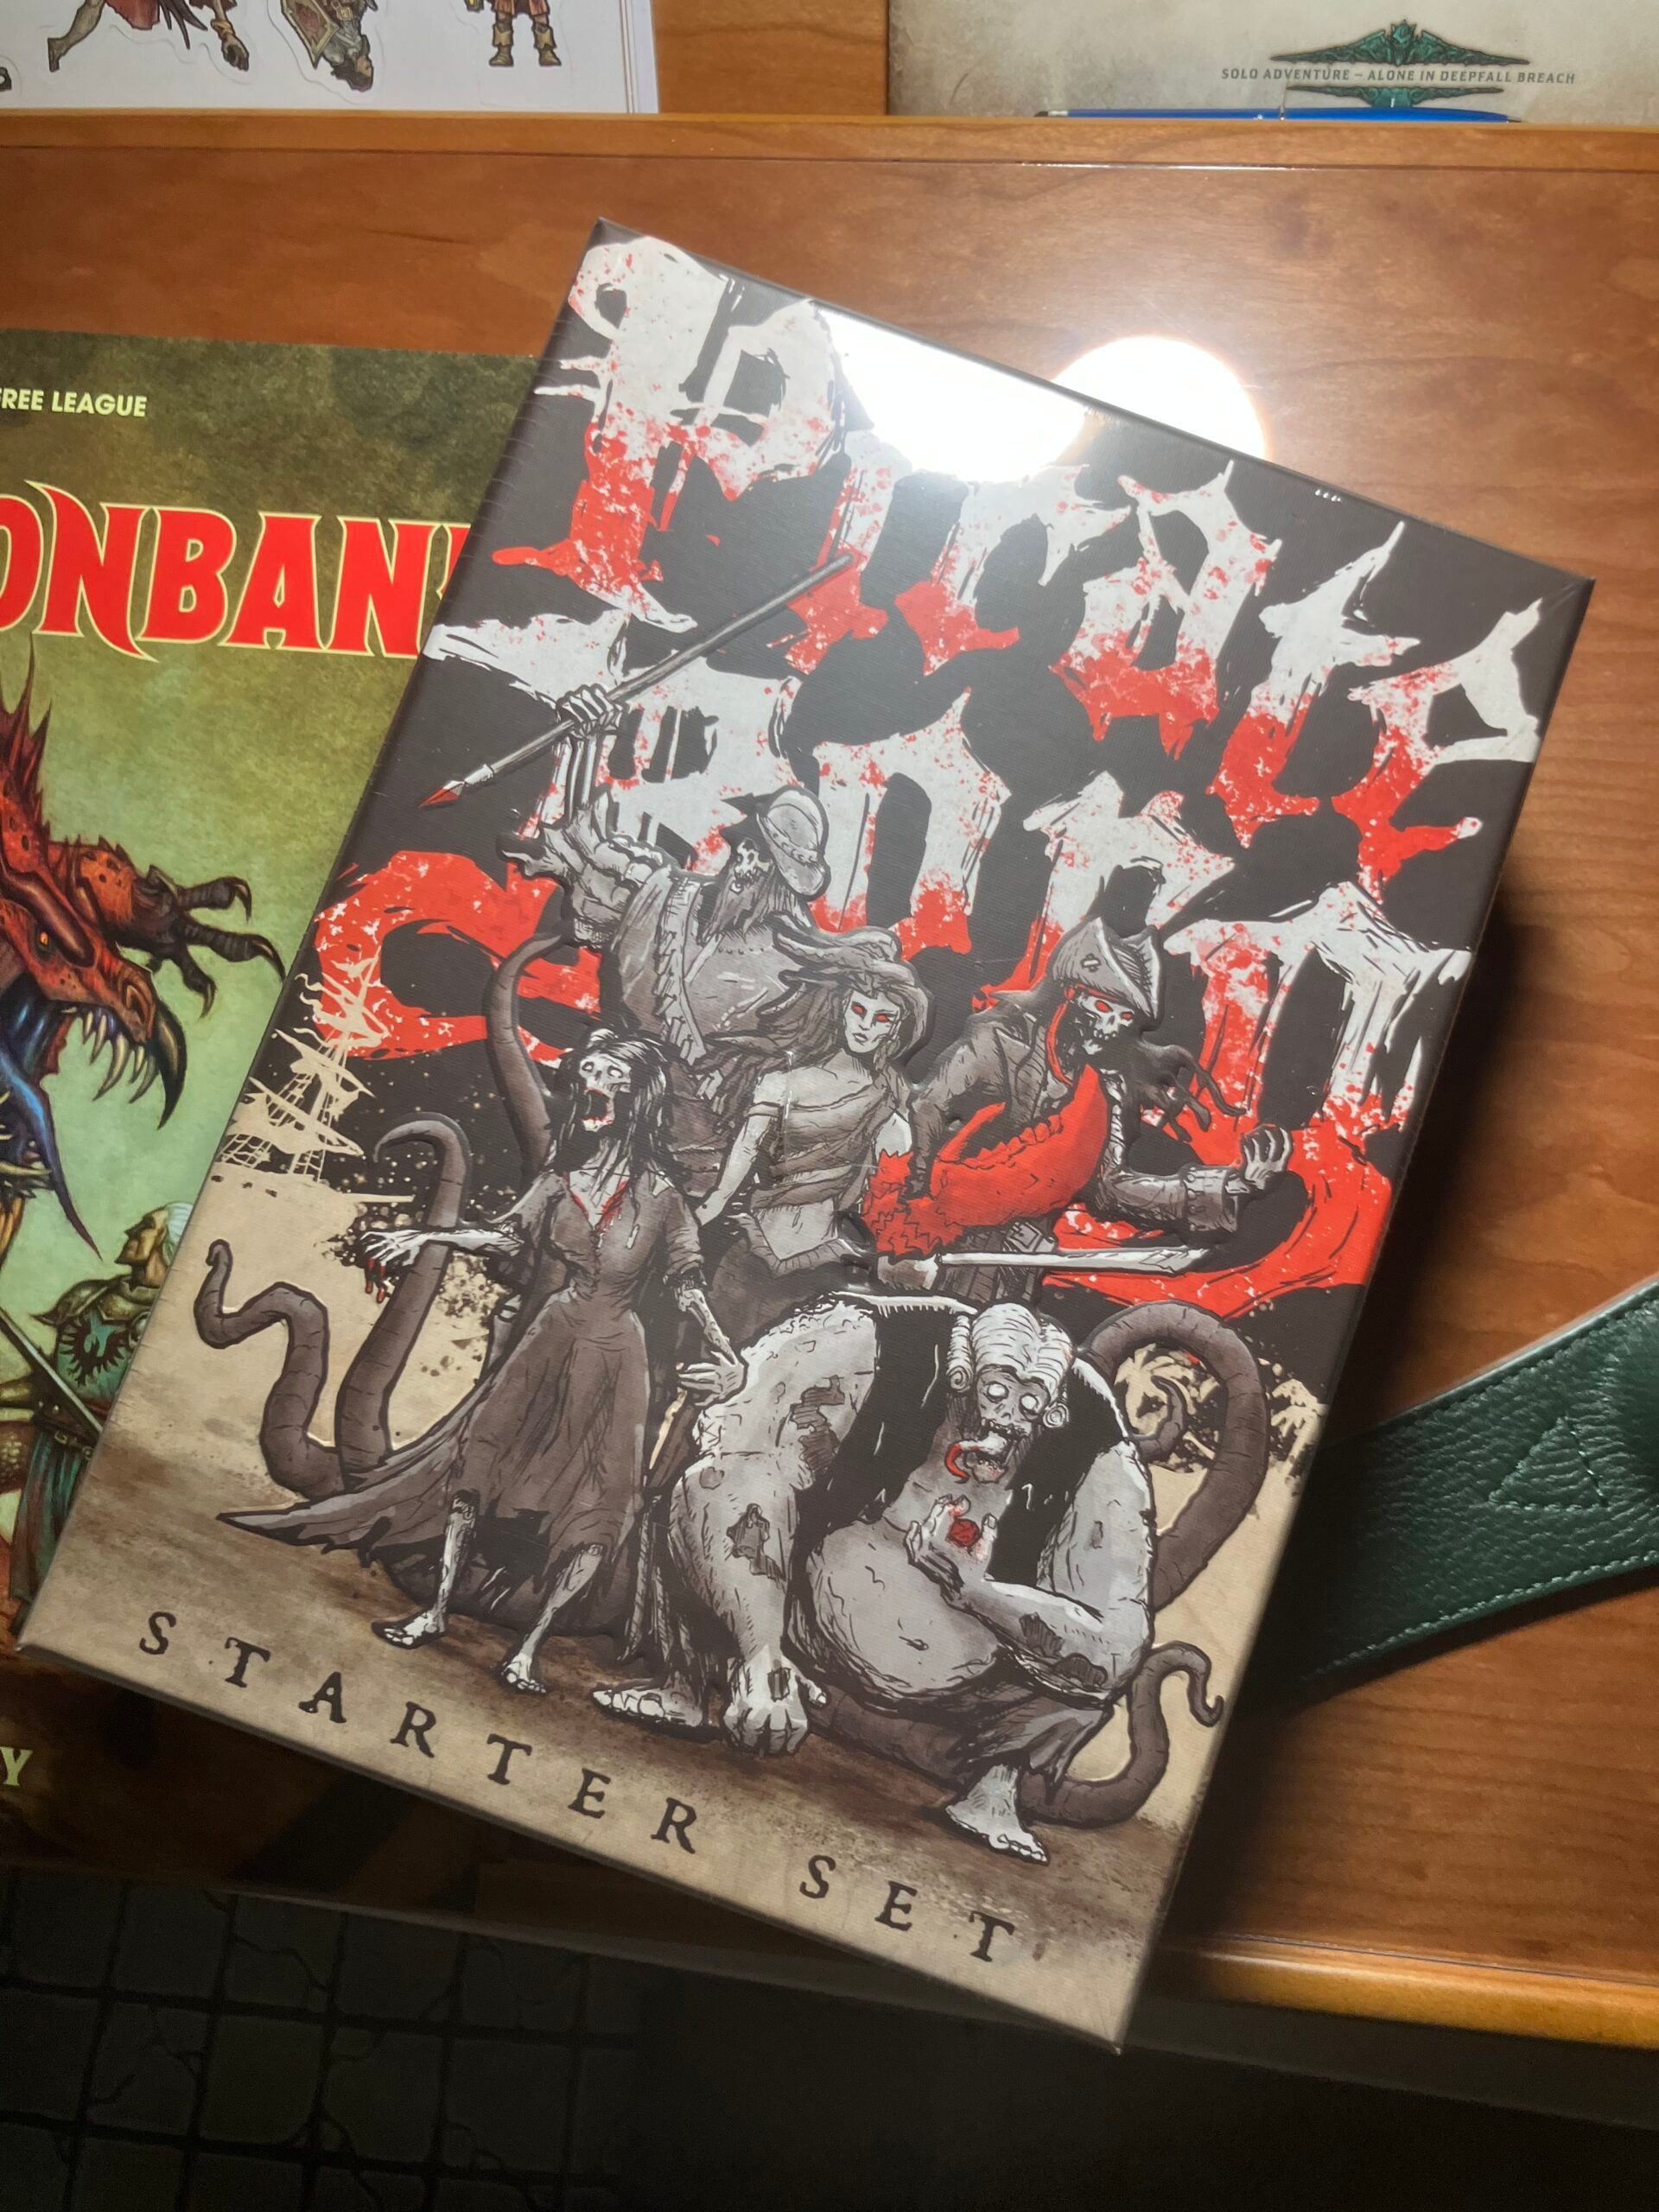
    I recently bought the PIRATE BORG Starter Set from Free League Publishing during a sale. It was like $36 dollars; down from $51.

    I’d never really given the original game, MORK BORG, of which this is a spinoff, much of a chance because I watched a flip through on Questing Beast’s channel, I think, and thought it should have come with one of those seizure warnings beforehand. The design just wasn’t for me.

    But I like the idea of starter sets that include everything needed to play, including “monster” tokens and battle maps and everything. I think this makes life a lot easier and the game more satisfying. The D&D: Welcome to the Hellfire Club starter set that I GM’d for some kids went over really well, and I think that these boxed sets are way more representative of what gear you should actually use than a lot of independent specialty items that I’ve seen.

    Not that there’s anything wrong with buying specialty items. As the title for this post suggests, I recently purchased a few parts of Wyrmwood’s wooden dungeon master screen, and that can only be considered a luxury item for any table. It’s certainly not necessary. But as I’ll discuss below, it does have a lot of functionality and I’m glad I bought it.

    Anyway, back to PIRATE BORG, the sale also did a lot to convince me to try it. And who doesn’t like pirates.

    It arrived in the mail today and I took some time to go through the contents, and I even took the time to create two characters, and I can say that so far I’m impressed.

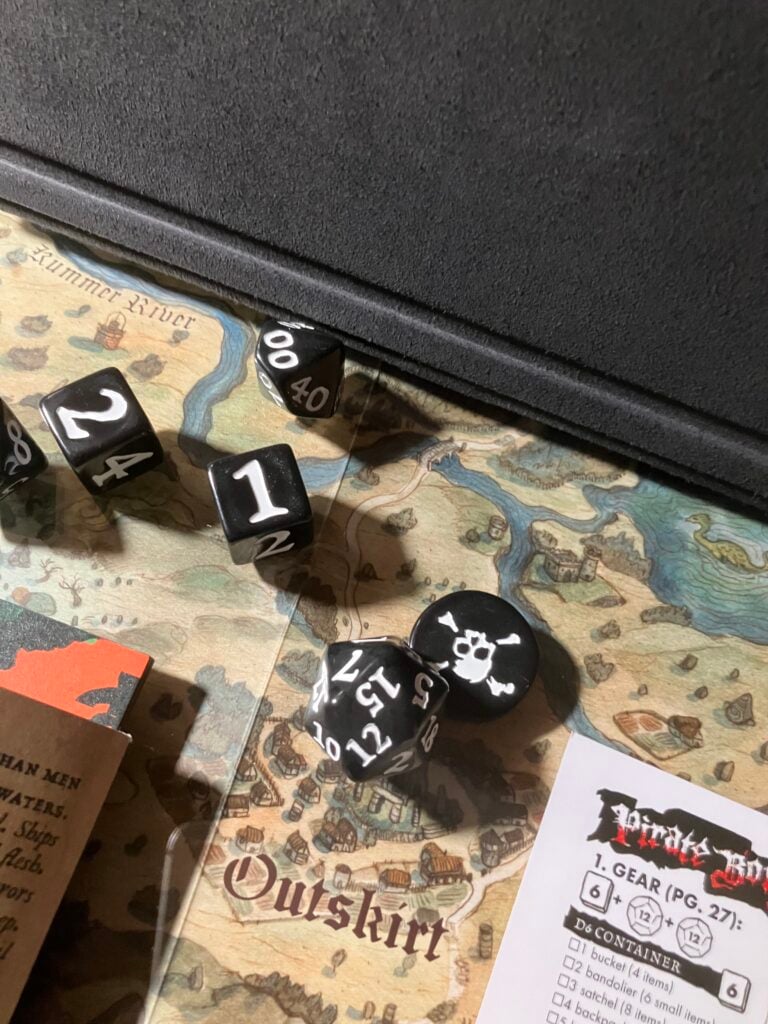
    The first thing I noticed was how nice the dice were. I didn’t even really know that dice could feel better or worse, but I definitely prefer these to the Dragonbane dice. They have a heftier feel to them and the old style fonts and the high contrast colors actually make them easier to use. And they are sort of like the design language you see on pirate flags.

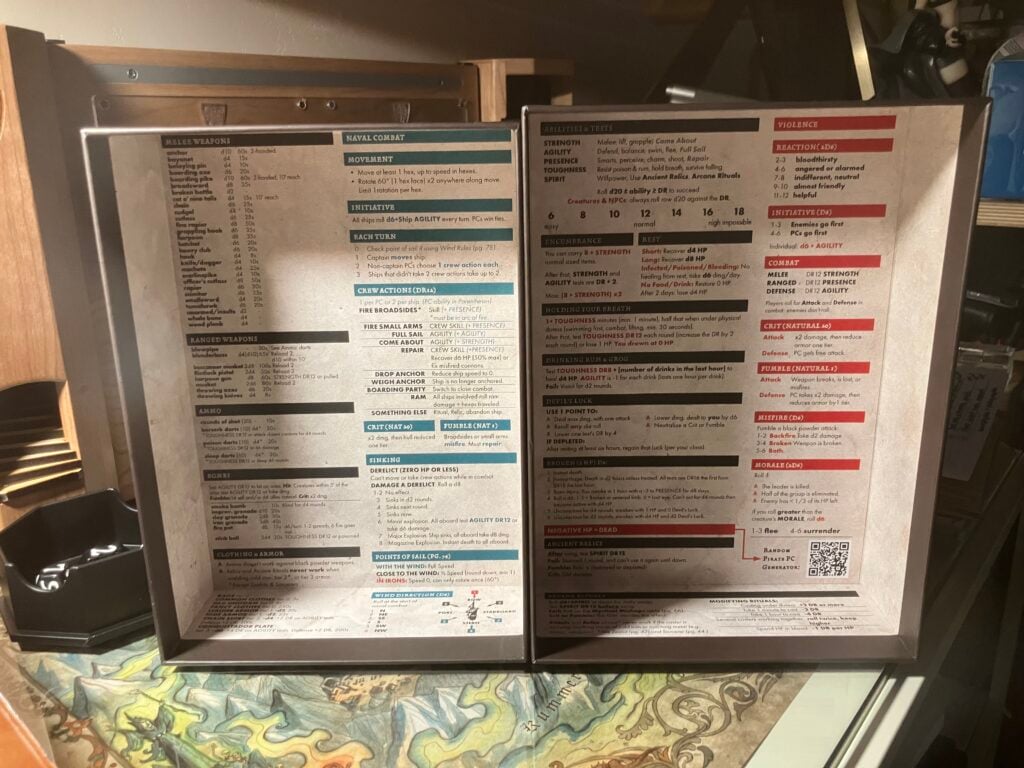
    There are nice touches like that all over the place. The inside of the box has reference information, which leads me to believe that you can use these as a makeshift dungeon master screen (there isn’t one in the box). Just stand these two things up and you have all the reference information you need and enough room behind them to hide some things if you need to.

    It only took about twenty minutes to create two characters, which was nice. I had a bit of trepidation when I opened up the player’s manual (abridged for the set), having flashbacks of trying to create D&D characters for the first time, but this was painless.

    I will say, I ran into a bit of confusion when trying to apply class ability bonuses to my characters. I couldn’t figure out whether to add them to my base score that I rolled, or the modifier. It appears to have caused some confusion elsewhere also, because there was a reddit post about the same thing, and the AI search results were pretty extensive on this topic. But it was a definitive answer: you add them to the modifiers themselves.

    That was really the only hiccup though.

    The character creation tables are really well done and make you feel like you’ve created some actual pirates, even though the whole process moves extremely fast. I created a buccaneer who used to be a navigator who is also secretly a zombie and whose flaw is that he gets lost a lot but insists he isn’t. Sounds like a fun character, and it was all by random rolls.

    The other character is a rapscallion former medic with broken teeth. A female named Felicity.

    I created two characters because there is no included solo adventure, and the player’s manual makes it a point to say that the encounters aren’t balanced in PIRATE BORG, that a party of five will have an easier time than a part of two. So I thought a party of one might be just a suicide mission or an exercise in sadomasochism.

    I’m not exactly sure how I’m going to run the included adventure solo, but I glanced through it and I think the experience I gained from the Dragonbane “Deepfall Breach” adventures will allow me to just figure it out as I go along. That’s the plan at least. I will report back on it.

    The Wrymwood GM screen is a luxury item. I’ve had it for about a week, but the two way dice tower just came a few days ago.

    It is expensive, but when you touch it and use it, you realize that it is a quality piece of equipment. I bought it because I don’t have a lot of desk space and needed some vertical storage, and instead of just installing some generic storage, I thought it would be more appropriate for the RPG Corner to actually use something designed for playing TTRPGs. And so I splurged on it.

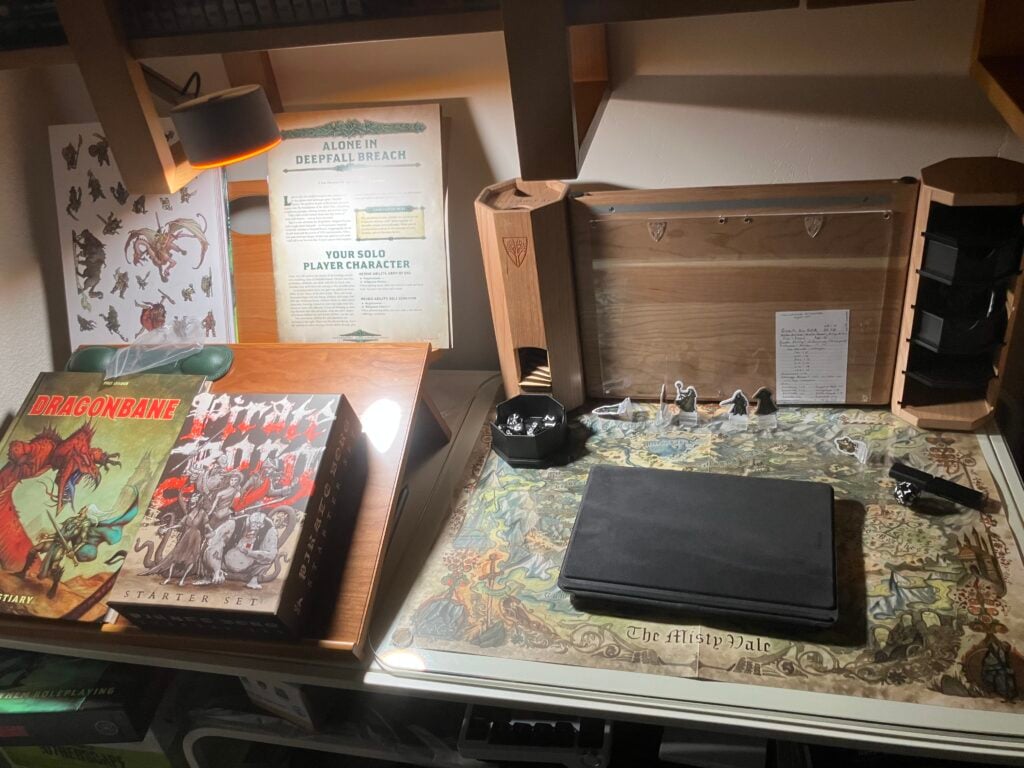
    Not a lot of space on the RPG Corner desktop.

    This is the cherry wood version, the least expensive option, which is fine with me because I have other cherry wood furniture in the room, including the Levenger “editor’s desk” right next to it, and I only have one panel and two connecting pieces on either end, the storage tower and the dice roll tower.

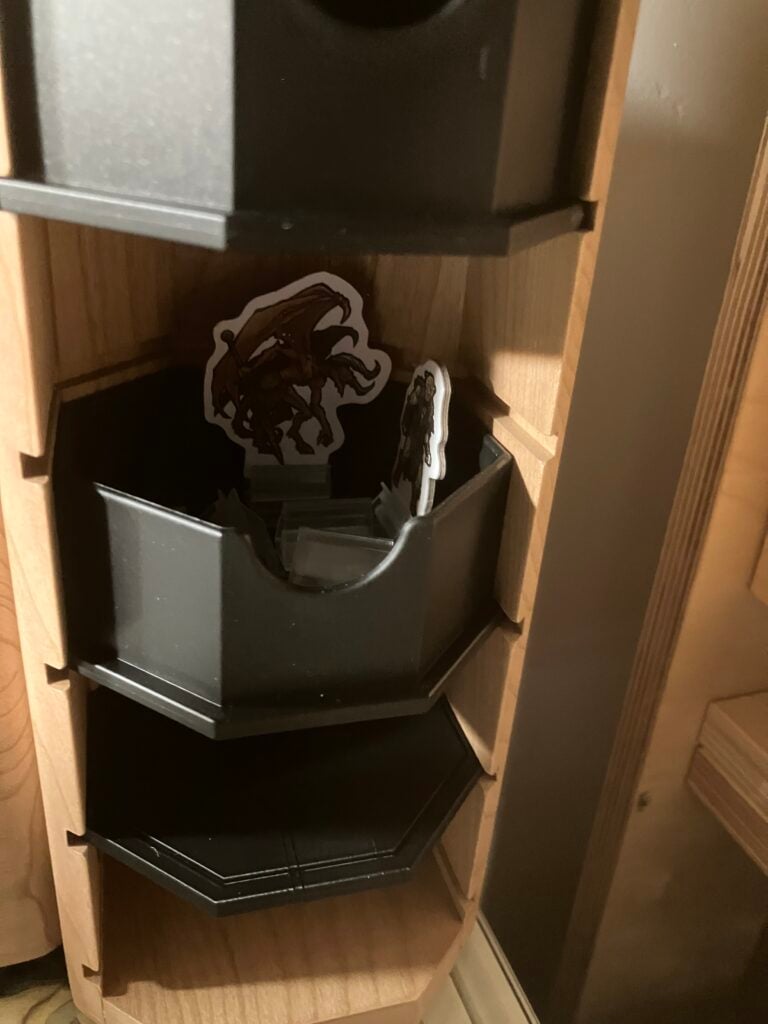
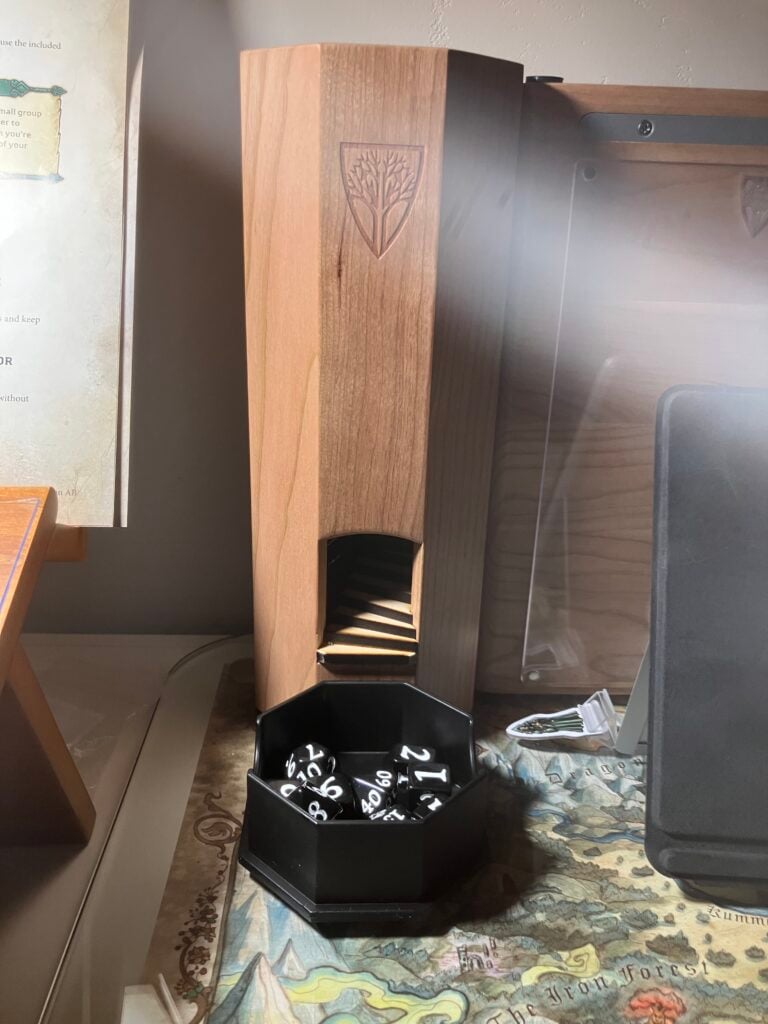
    All of these pieces work extremely well. The modular storage tower comes with several extra plastic storage containers, so you can customize it to your needs, and the two way dice tower is easy to use and has a pleasant sound as the dice rattle down it. Not annoying at all.

    The only thing I don’t like, and it is probably just because it doesn’t suit my needs like I thought it would, is the acrylic panel that goes in front of the wood panel.

    It attaches magnetically. The magnets are very strong. Which I like because it’s secure, but it makes taking things out and putting them in a little tricky, and whenever you open it everything falls to the bottom and out of place.

    This is the type of panel you should have if you’re going to leave a permanent item behind it, not stuff that you’re going to swap out a lot. I think the metal magnetic panel would have been a better purchase for someone like myself that wants to swap out what’s on that panel frequently. Even the split acrylic panels would have been better. Or one half acrylic and the other half magnetic. But, oh well. I can always order those if I want.

    It’s an expensive GM screen but I don’t regret the purchase.

    I’ll be back with a replay of the PIRATE BORG adventure soon.

    Thanks for reading!

  • dragonbane, alone in deepfall breach: “the cultist’s warren” replay

    I’m just going to warn you up front, this doesn’t end well.

    So after leveling up my characters and learning the whereabouts of the World Breaker Shard from Gorum at the end of the last adventure, Brock the dwarf and Archmaster Aodan head once more into the Breach.

    With the information obtained from Gorum, Ingolfr Stone Gaze can now see clearly that the Shard is being worn as a medallion by a nefarious demon priest named Arioch. You have to track him down and take the Shard from around his neck.

    The first waypoint is simply called “Stone Maw”. The description given simply says that it is an entryway leading underground that has been hewn from stone to resemble a mouth with large teeth. Ingolfr says that he thinks there is blood on the teeth, but he can’t be sure.

    I decided that this could be a trap. So I simply made a 50/50 roll to determine that. On a D20 roll, over ten and it is, under ten and it isn’t. I rolled a twenty, a demon. So yes.

    Then I made Aodan perform a SPOT HIDDEN check. He rolled a thirteen. Fourteen is his ability level, so he barely passed it. Then they both had to pass SNEAKING checks, which they did, Aodan by one. I figured because it was a demon roll on the initial check to see if there even was a trap, that the trap would be particularly nasty, like it would close on them and cut their HP in half or something if they failed an EVADE check, but they didn’t set it off so it didn’t happen. I also would have given them a boon on the SNEAKING checks because they knew the trap was there but they also didn’t need that.

    The threat die turned to five, because I figured it would have been slow going to locate the trap and sneak past it. This threat event has to do with the underground passageways filling with magma and destabilizing, creating potential hazards.

    The second waypoint was unknown, so I rolled on the environment tables and came up with the following: a lofty bridge, a mechanical whirring noise, and cracked terrain.

    I thought about this and decided to make it a drawbridge they were crossing and someone decided to raise the bridge. That would explain the whirring sound. The cracking of the earth would simply be that the bridge hadn’t been raised in a long time.

    So this meant that they were going to fall. I made the height of the “lofty bridge” 10 meters. In the rulebook, there is a somewhat convoluted method of calculating fall damage which involves halving the height of the fall, then rolling that many D6s for damage, rounded down. But a successful ACROBATICS check halves the numbers of D6s, rounded up.

    So a fall of ten meters could actually kill both Brock and Aodan, but almost unbelievably they both passed ACROBATICS checks (Aodan’s base skill in ACROBATICS is only 5). So they both blunted the impact of the ground. Brock received -7 damage and Aodan received -6. I had them make a stretch rest and Brock regained all his HP and Aodan +4.

    The threat dice turned to four.

    The third waypoint was also blank, so I rolled on the environment tables and came up with the following: towering statues, slimy surfaces, mystical light, and singing skulls.

    I didn’t know what to make of the mystical light, other than that they weren’t plunged into total darkness, and the singing skulls I just ignored, because I immediately decided that they were going to climb the statues to get back up to the other side.

    I had Brock go first. I made him pass an ACROBATICS check, and actually gave him a bane on the roll because of the “slime”, but he passed. Then I made him pass another ACROBATICS check to jump from the statue to the ground, which carried the possibility of falling again, but he also passed this check.

    Aodan wasn’t so lucky. I decided to have him cast Pillar on himself, a spell that raises the target up three meters off the ground on a pillar of earth. I did this to give him a leg up on the climbing part and thought that this would defeat the bane I would have to give him on the ACROBATICS check because of the slime. But you also have to pass an ACROBATICS check to stay atop the pillar of earth, according to the spell’s description, which Aodan failed. Then he fell. So I had him make another ACROBATICS check to halve the damage and he succeeded, and only received 1HP damage.

    Then I just had him try to climb the statue with a bane on his roll and he failed that ACROBATICS check.

    Because there is a threat event with the possibility of the caverns filling up with lava, I didn’t think we had much time to keep messing around with trying to get Aodan to climb out of a low pit.

    Fortunately, it occurred to me that if there was a drawbridge, there would have to be rope or chain of some kind to pull the bridge up, and if Brock could get that, he could lower it to Aodan to pull him up.

    So I invented a scenario where two goblins were manning the drawbridge and Brock was going to make a sneak attack and he wasn’t going to receive the bane on the roll per usual because the goblins would have to assume he was dead or at the bottom of the pit. He passed the SNEAKING check and dealt 2D6 damage to one of the goblins, which turned out to be 11. The goblin goes down.

    These are supposed to be goblins.

    Brock has the heroic ability of Army of One, which allows him to attack twice per turn, but when he turned to attack the other goblin and make his attack roll, he rolled a twenty. A demon roll. This means a misshap happens.

    There is a table in the rulebook where you roll to see what happens on a demon roll in melee combat. I rolled a four, which means that I loose my weapon “D3+3” meters away. I don’t know what a D3 is and think this is actually a typo. So I rolled a D4 instead and came up with 1, so a total of 4 meters away. It also says that it takes up an action to pick the weapon up.

    So the Goblin rolls and comes up with 6 damage, reduced to 5 because Brock is wearing leather armor. This halves his HP.

    It is important to point out that Goblins are not treated as monsters by the rules, they are NPCs. This means that they have to make attack rolls and can miss on their attacks. Regular monster attacks always hit in Dragonbane. Don’t know why this is.

    I have to use Brock’s next turn to move to the axe and pick it up. He then misses on his second attack. Not good.

    But the goblin misses on his attack roll as well! Dodged a bullet there.

    Brock has the initiative on the next round and hits on both his attacks, for 7 and 6 damage respectively. The second goblin collapses.

    So now I figure Brock can use his axe to free up the rope or chain (doesn’t matter) from the drawbridge. He has the MASTER CARPENTER heroic ability after all. But I just made him pass a basic strength test to see if he succeeded, which he did. But I deducted a few durability points from his axe because I thought it was probably damaged somewhat by being used in this way as a work tool and not a weapon. Durability matters when parrying attacks.

    Brock is able to haul Aodan up, but not until Aodan passed a strength test to see if he could hold on that long, which he did.

    So this took a great longwhile and the threat dice should probably turn to two, but I just let it go all the way to one, because the very next waypoint just so happened to be another bridge called “Fool’s Crossing” that has flowing magma below the bridge. So I just let the event happen. The caves are filling up with magma.

    I gave Brock and Aodan a stretch rest to recover HP, because time no longer really matters as much

    On this waypoint, in the given description, it says that there is a bridge and on either side are opposing forces, a band of orcs and a band of demon cultists. The orcs are on your side.

    The orcs are attacking a barrier the demon cultists have erected but are being repelled by seemingly magical means.

    That’s it. It’s up to you to figure this out.

    Aodan doesn’t know Dispel, which would cancel out any magical spell I think on an opposed roll. I just had to assume that there was a way over the barrier.

    So I had them make a PERSUASION check with the orcs on their side to let them help in exchange for safe passage afterwards. The check succeeded and they joined forces.

    The plan was for Aodan to cast Pillar, and then for the target to leap over the barrier.

    Brock led the way and passed the ACROBATICS check to stay on the pillar. I didn’t have him make another to jump down, feeling that he would just make it (although I forgot about fall damage in the heat of the moment).

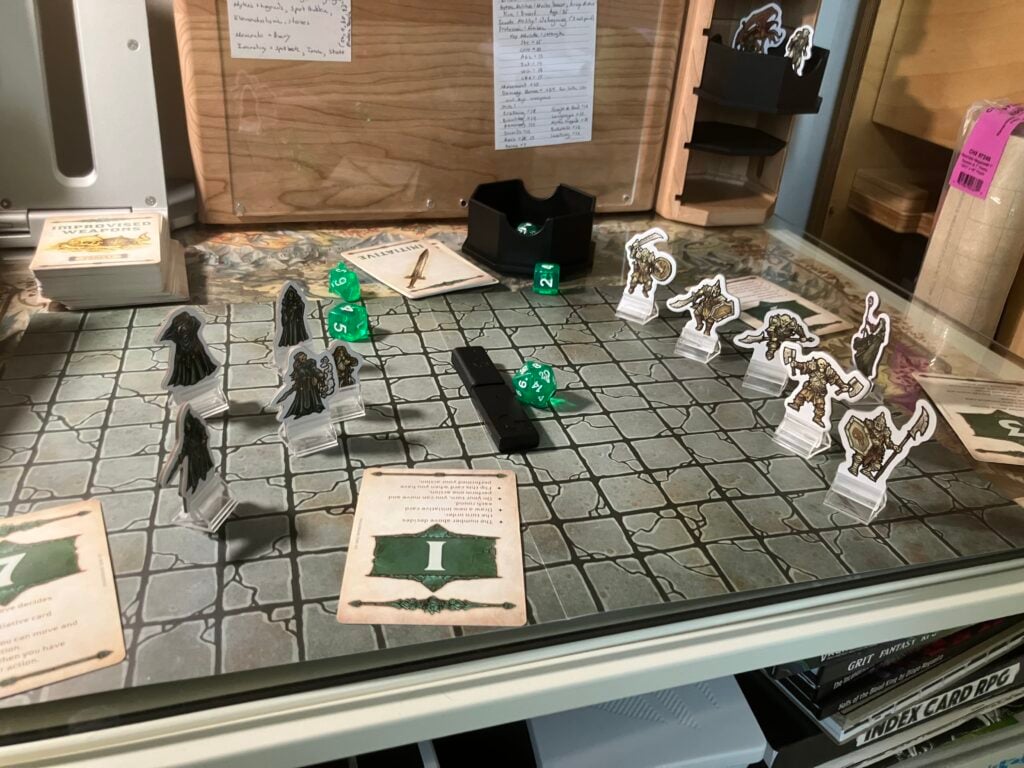
    The battle of the bridge. The USB receiver in the middle represents the barrier.

    So he lands and immediately attacks the first demon cultist he sees and takes him out with his dual attack rolls. Then I have everyone draw initiative.

    I didn’t have them draw initiative before because they weren’t in battle yet. Now they are. Maybe I should have just used the rules for sneak attacks, but that would have required a SNEAKING roll and that’s not what they were doing. I just thought it would be a surprise that they managed to get over the barrier.

    So anyway, battle commences. Aodan has the initiative now, and I’m having him work as a team with the orcs on the other side, so he casts Pillar again and the orc chieftain (I just assumed the leader would go first) passes the ACROBATICS check and makes it over the barrier. I had to guess what his ability scores would be so I just gave him Brock’s. I assumed he would be at least as acrobatic as a dwarf.

    But his movement is used up and the nearby cultist is already dead.

    Now it’s the demon cultists’ turn.

    I had to improvise for them, because oddly there is no information given in either the official rulebook’s bestiary nor the expansion stand alone bestiary for Demon Cultists. There’s no stat block anywhere. So I just gave them a 50/50 chance on their attack rolls and 2D6 damage rolls. There are three left.

    The first one attacks the chief, hits, and rolls for 9 damage which is reduced to 5 because of chainmail.

    The next one does -4 damage to Brock.

    The next one misses.

    Aodan has the initiative on the next round too, but the orc falls off the pillar and doesn’t make it across.

    The chief is up next with his dual scimitars, but misses!

    Next is Brock, and wouldn’t you know it, he rolls a demon again. I rolled a three on the table and it says his weapon gets stuck and he has to use an action and pass a strength check to get it out. Because he gets two attacks, I was able to get his weapon unstuck with a passed strength check, but now his turns were over and he hadn’t done any damage to the cultists.

    Back to the demon cultists. The first one misses.

    The second one hits. Brock is down.

    Third one misses the chief.

    Cultists draw the initiative on the next round. They all go after the chief.

    First one does 3 damage.

    Second one does 6 damage.

    Third does 5 damage.

    Cheif’s turn. Rolls a demon. Loses his scimitars 5 meters away.

    Then Aodan’s turn. Orc fails the ACROBATICS check again and doesn’t get over the barrier.

    Cultist’s draw the initiative again on the next round.

    But their attack rolls are bad. First one does 1HP damage to chief, 2nd one misses, and third only does 1HP damage.

    The chief has 4HP left. He moves over to retrieve his weapons and picks them up, which takes his action.

    Aodon can’t get the orc over again.

    Chief draws initiative on the next round and he hits with his dual scimitars for 19 total damage and totally shreds a demon cultist.

    I ended the fight here by making the remaining two demon cultists flee. I did this because it seems like a lot of TTRPG rulebooks I’ve read say that when an enemies’ forces are reduced by half, they tend to flee. I don’t think that Dragonbane explicitly states this, although it might somewhere, but I think it’s a good rule of thumb. And if you just saw your friend taken out brutally on one turn by dual scimitars you’d probably run too.

    With no one manning the barrier, it fails, and the orcs and Aodan cross over the bridge.

    Aodan makes a HEALING check and revives Brock. They both take a stretch rest to regain HP. Then they move to the next waypoint.

    This one is called “Shadowed Courtyard”. It says there is a well in the middle of the courtyard that you have to escape into, but there are “scores” of demon cultists beyond the courtyard wall.

    I didn’t really see a conflict here unless you make them pass a SNEAKING test so that they weren’t spotted while climbing into the well.

    Wouldn’t you know it, Brock rolled a demon on his check.

    Because bad things are supposed to happen when you roll a demon, I brought out four demon cultists to fight them around the well. The cultists drew the initiative.

    First one does only 1HP damage to Brock, but the second one does 9. Brock is down again.

    The other two demon cultist approach Aodan but are two far away to get to him.

    Aodan is going to cast Gust of Wind to knock his enemies back, but it fails!

    The cultists have the initiative on the next round. The first one misses Aodan, the second one rolls a demon and looses his weapon, the third misses and the fourth misses!

    They do have him surrounded though.

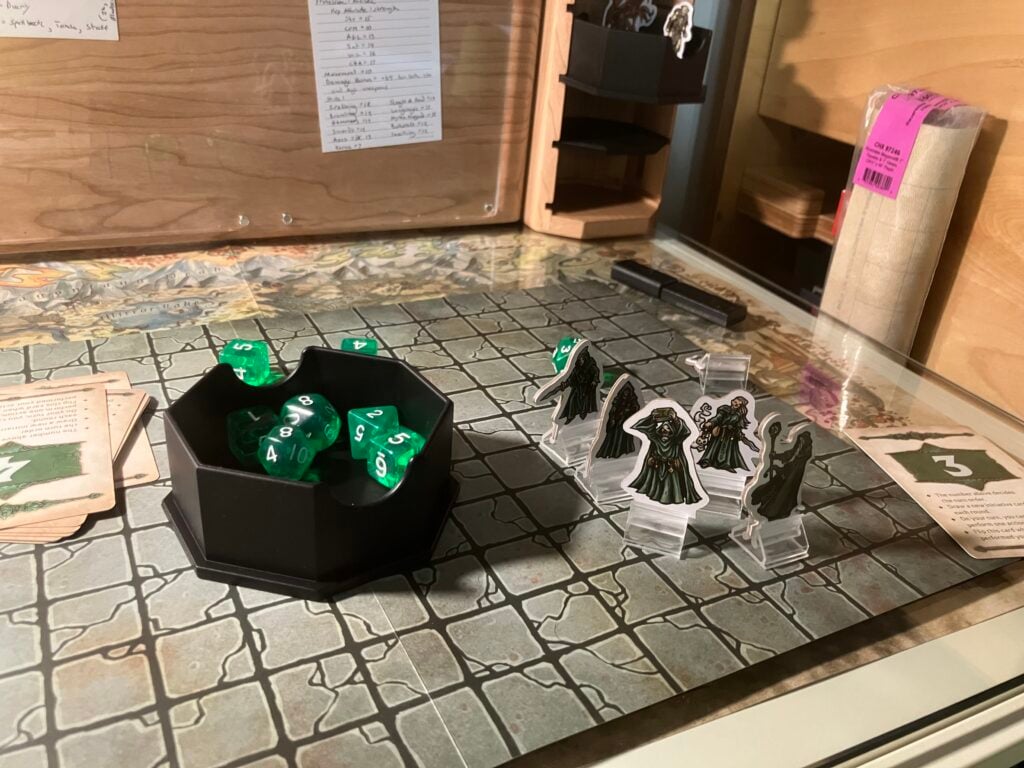
    Aodan’s last stand. The dice tray in the middle represented the well.

    Aodan has the initiative now and casts Gust of Wind. It hits all the demon cultists for 3HP damage and pushes them away 3 meters. This is important, because after he backs up using his movement, only two of the cultists can reach him on the next round.

    Aodan draws the initiative again on the next round and I was going to have him cast fireball at the nearest demon cultist…but he misses.

    The first nearest demon cultist catches up to him and only does 1HP damage.

    But the second…

    TPK…

    ~

    I enjoyed this mission. It required some creative thinking on my part to figure out ways to get Brock and Aodan through these waypoints and I had to really dig into their characters and the rules in order to do so in a satisfying way.

    Unfortunately, it didn’t turn out the way I wanted.

    I will say, as a criticism of the game, and this is coming from someone who really likes Dragonbane and would recommend it, but I think it is a real detriment that there is no stat block for Demon Cultists, considering that they have featured in both of these adventures. That seems like a real oversight. I might have failed simply because I didn’t know how to balance the encounters correctly. I can’t imagine trying to fight all of these cultists with just one character. I couldn’t beat them with two.

    I might try again with a new character, but I am done with “The Cultist’s Warren”. There were two more waypoints after the Shadowed Courtyard, and as it was, it took me two game sessions of a couple hours each to make it that far. I’m not doing it again. The next one is called “The Mage’s Refuge”, and I might just start there. Or do something else entirely.

    Thanks for reading!

  • dragonbane: alone in deepfall breach, “the captive orc” replay

    dragonbane: alone in deepfall breach, “the captive orc” replay

    I recently started playing Dragonbane solo. It’s my first attempt at playing TTRPGs solo (actually, the first time I’ve ever played TTRPGs period, I’ve only ever DM’d them). I’ve played a hundred or so video game RPGs over the course of my life, some of them several times, but I’m pretty new to TTRPGs.

    It actually went pretty well, and I thought I would recap the adventure, sort of in the tradition of the Japanese published replays that led to the creation of Lodoss War.

    I wasn’t really sure about the whole endeavor, or even if it would work, but it turned out fun.

    In Dragonbane’s Starter Set, there is an included solo adventure. It concerns something called Deepfall Breach (by the way, this is Free League’s edition). In Deepfall Breach, you are given missions by a one eye’d wolfkin named Ingolfr “Stone-Gaze”, who resides in a Chapel at the entrance of the Breach and has gained some sort of mystical connection with it that allows him to see inside.

    The first of the missions Stone-Gaze sends you on is one to find a band of demon cultists who are holding an orc, named Gorum, prisoner. Gorum knows the whearabouts of the World-Breaker Shard, which is the tip of the mythical Sathmog’s Spear that fell to earth in the war between dragons and demons in the olden days and which created the Breach on impact. The shard contains enormous power. Your job is to free Gorum and learn that location of the Shard so that you can steal it back from people who are using it for nefarious means (which continues in the next adventures, this first one is just about freeing Gorum).

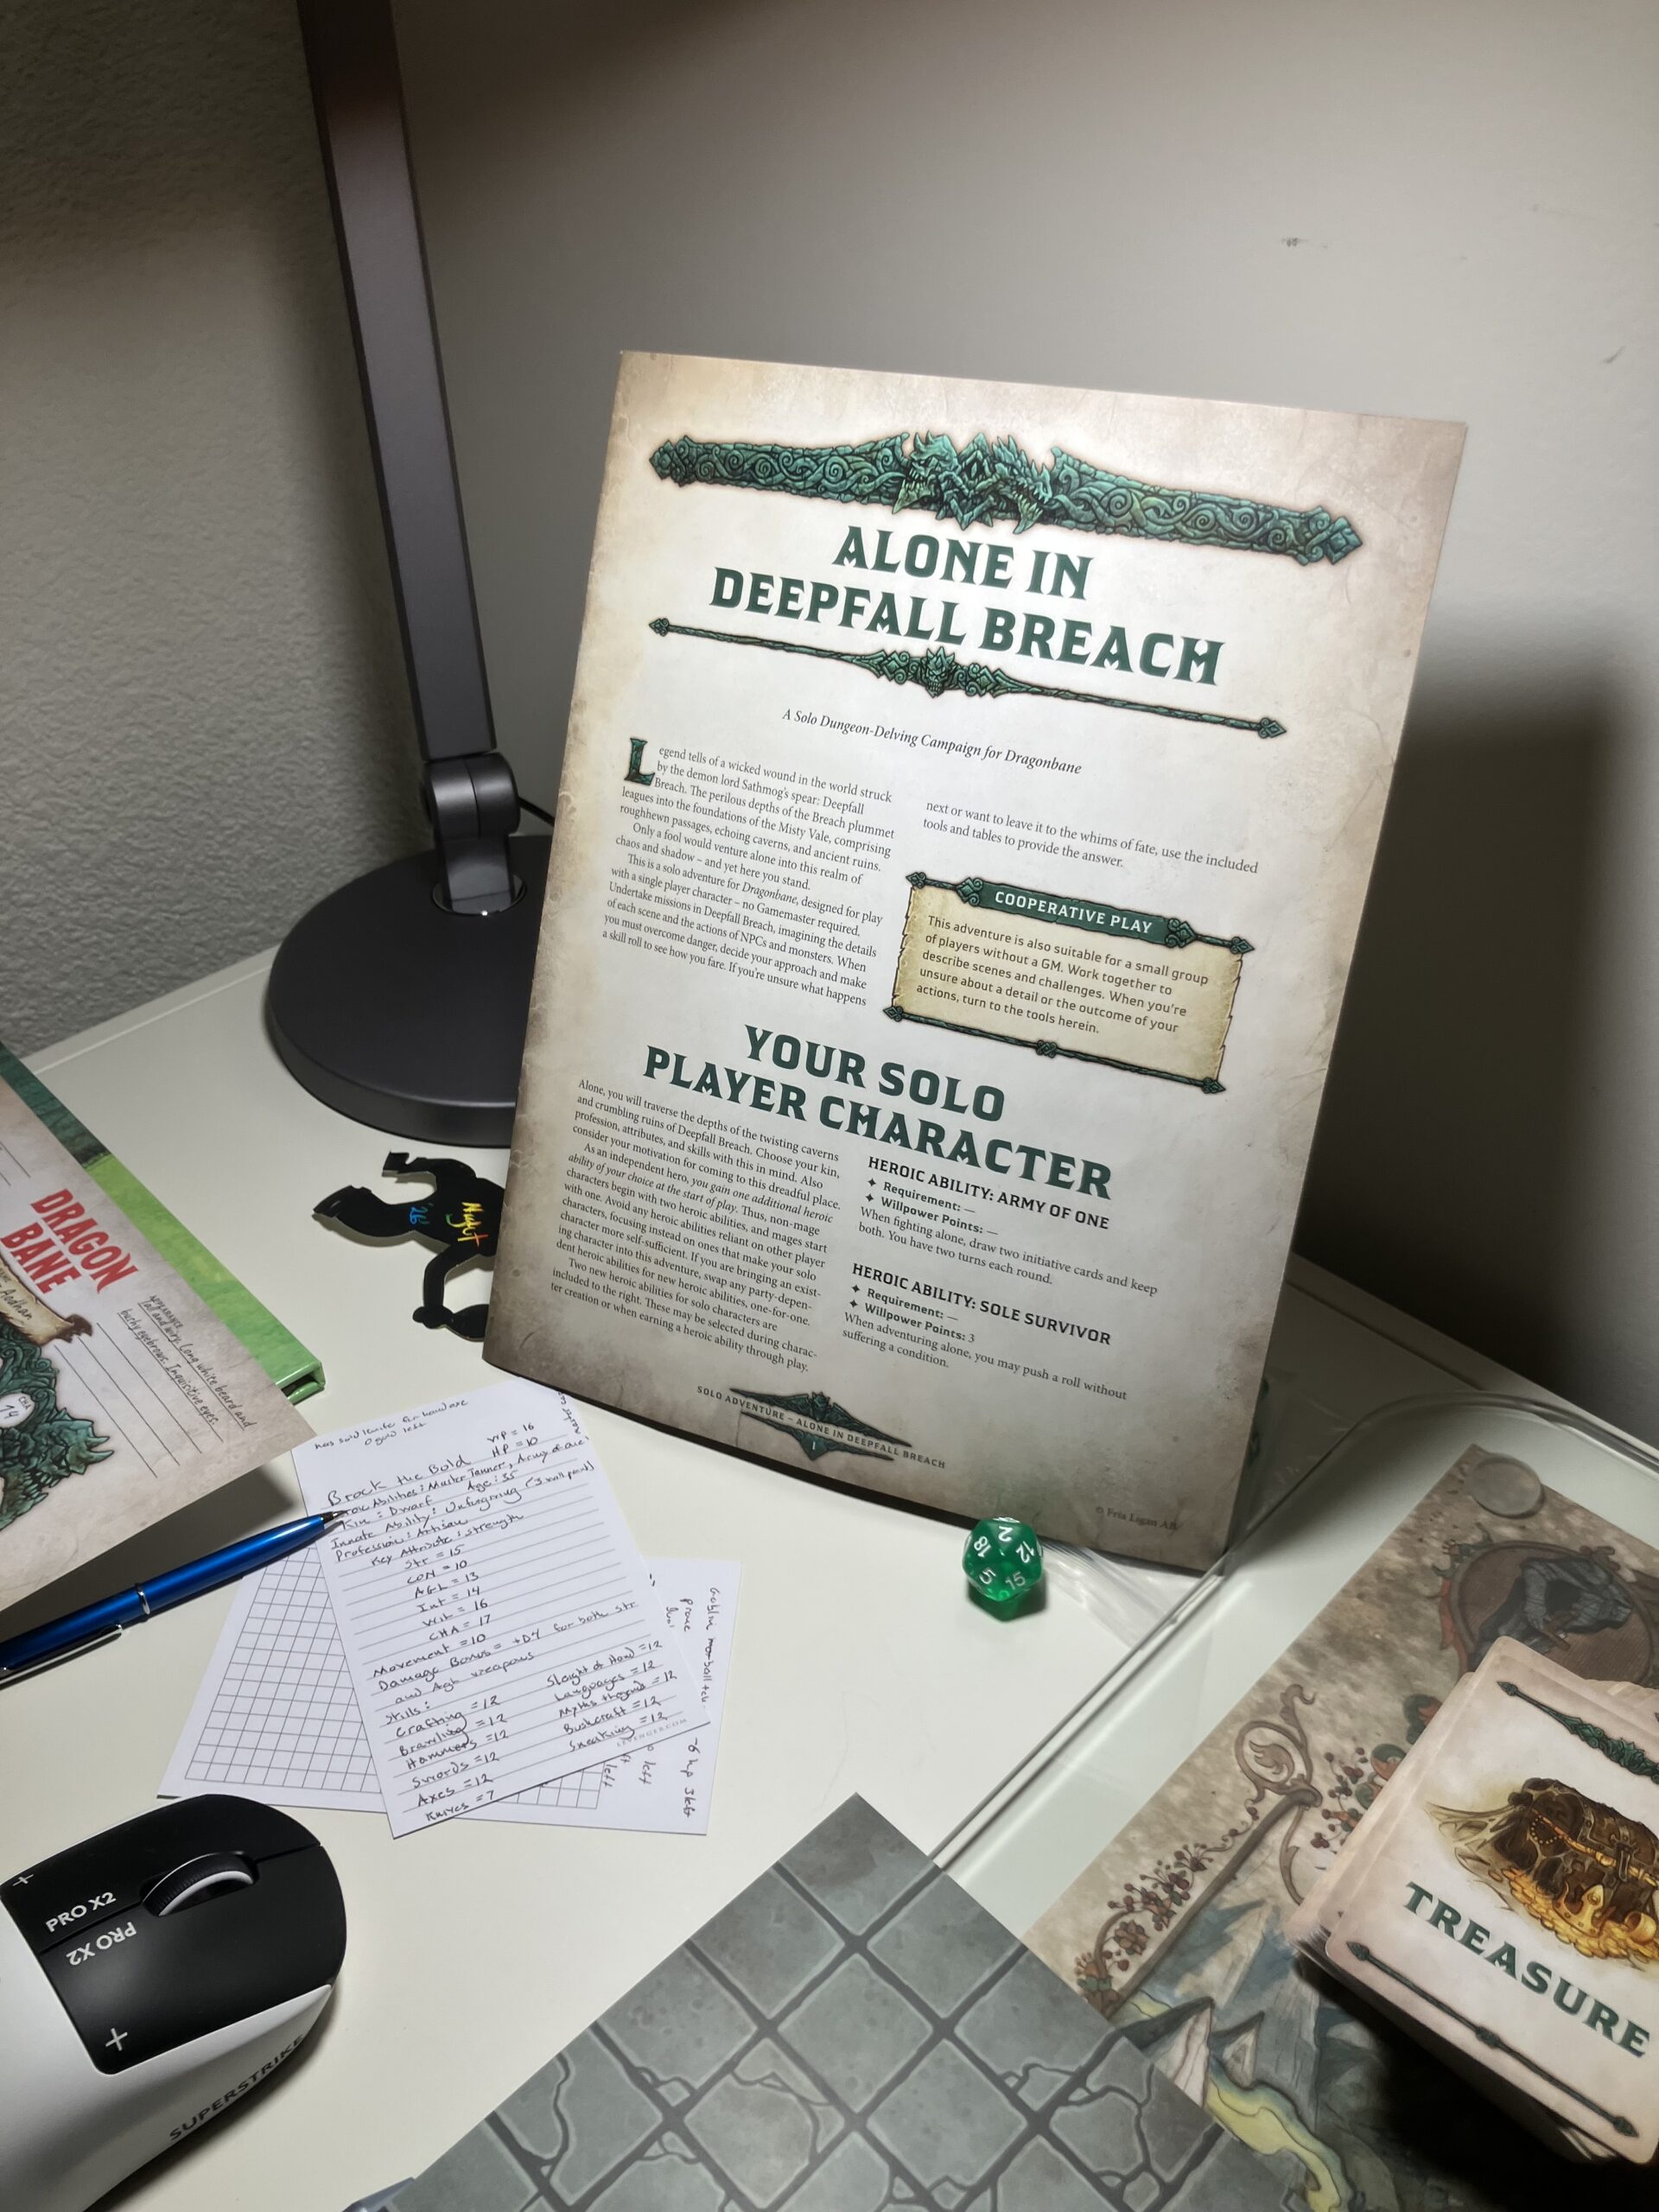
    I created a dwarf character named Brock who is thirty-five years old and an artisan. Most of my ability rolls were good, except for the constitution roll, which came out as ten (out of a max of eighteen). I didn’t catch on to the fact that my equipment only included a knife as my only weapon and I didn’t have an expertise in that skill, which would prove almost fatal with such a mediocre constitution (HP).

    Having no idea what really to do, I read the solo adventure’s instruction booklet, and it says if you want to flesh out your given waypoints to roll on the included location detail tables. I did so and rolled a twenty, a demon, and the table says that I meet a “wandering adventurer” (this was in my first waypoint, which is only described in the adventure booklet as a descending hallway). Thinking this was an auspicious start, I made a PERSUASION roll to see if this adventurer wanted to join my quest. The roll succeeded.

    Knowing that there were already premade characters included in the Starter Set, and having just gone through the character creation process and not wanting to do that whole thing again, I reached into the box and pulled out a random premade character sheet, of which I’d not really even scanned before.

    The sheet I pulled out was for Archmaster Aodhan, an elemental mage.

    This struck me as even more auspicious, considering Brock the artisan has no magic capabilities.

    There were also supposed to be monsters lurking in the corridor, but I made a SNEAKING roll for both characters and it succeeded.

    So, without further ado, our party increased by one, we set off further into the Breach.

    The event dice turned to five. Each mission has a “mission threat”, an impending doom / ticking clock that you track by turning a D6. When the clock ticks down to one, the event happens. This one concerns a band of marauding goblins that are on your tail.

    The second waypoint given in the adventure is a ruined mausoleum that has been destroyed by fire. In the ashes are a trio of somethings (I made them skeletons). You have to locate a door in one of the surviving coffins that leads further into the Breach.

    Oh, and there’s a trap somewhere.

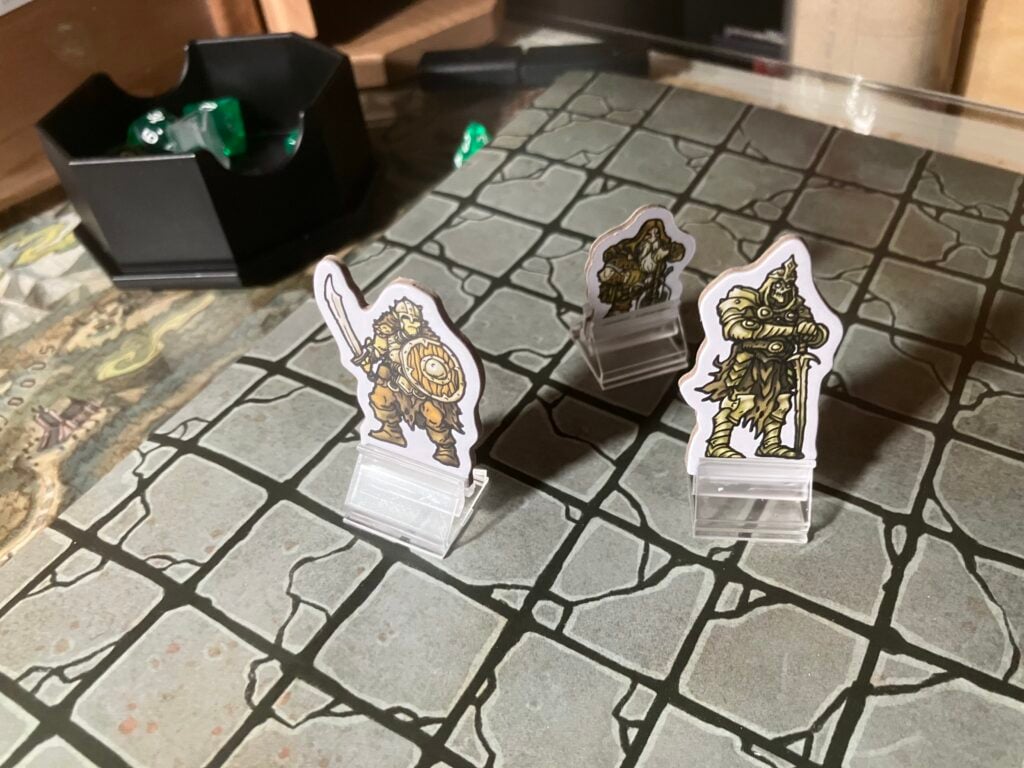
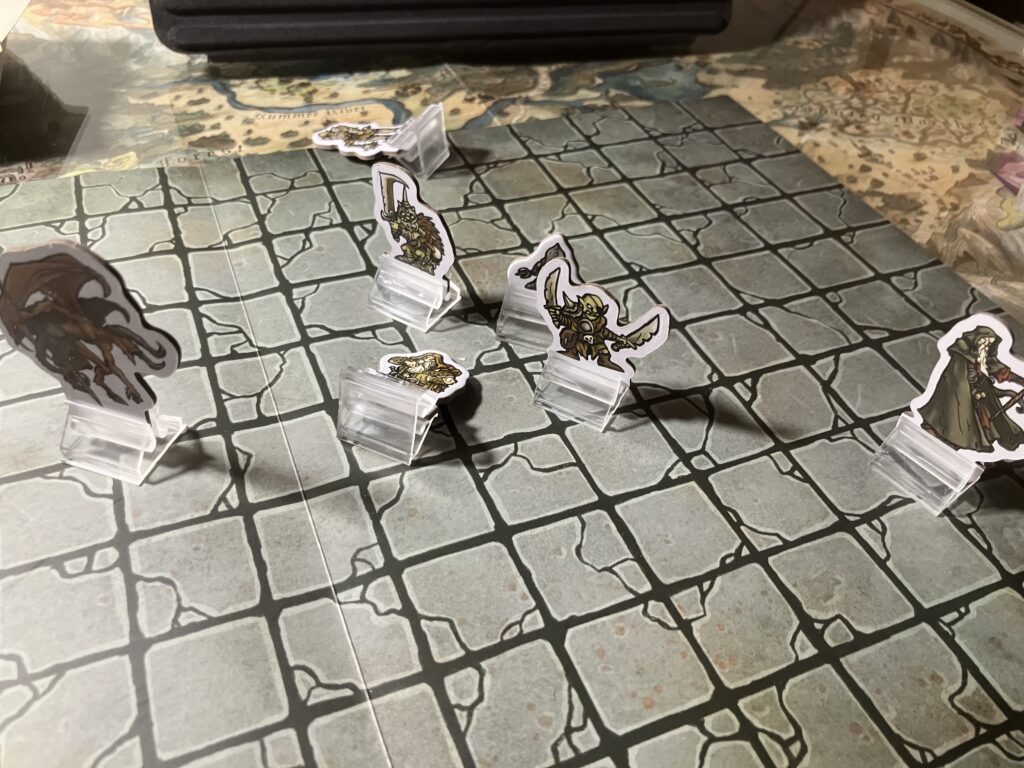
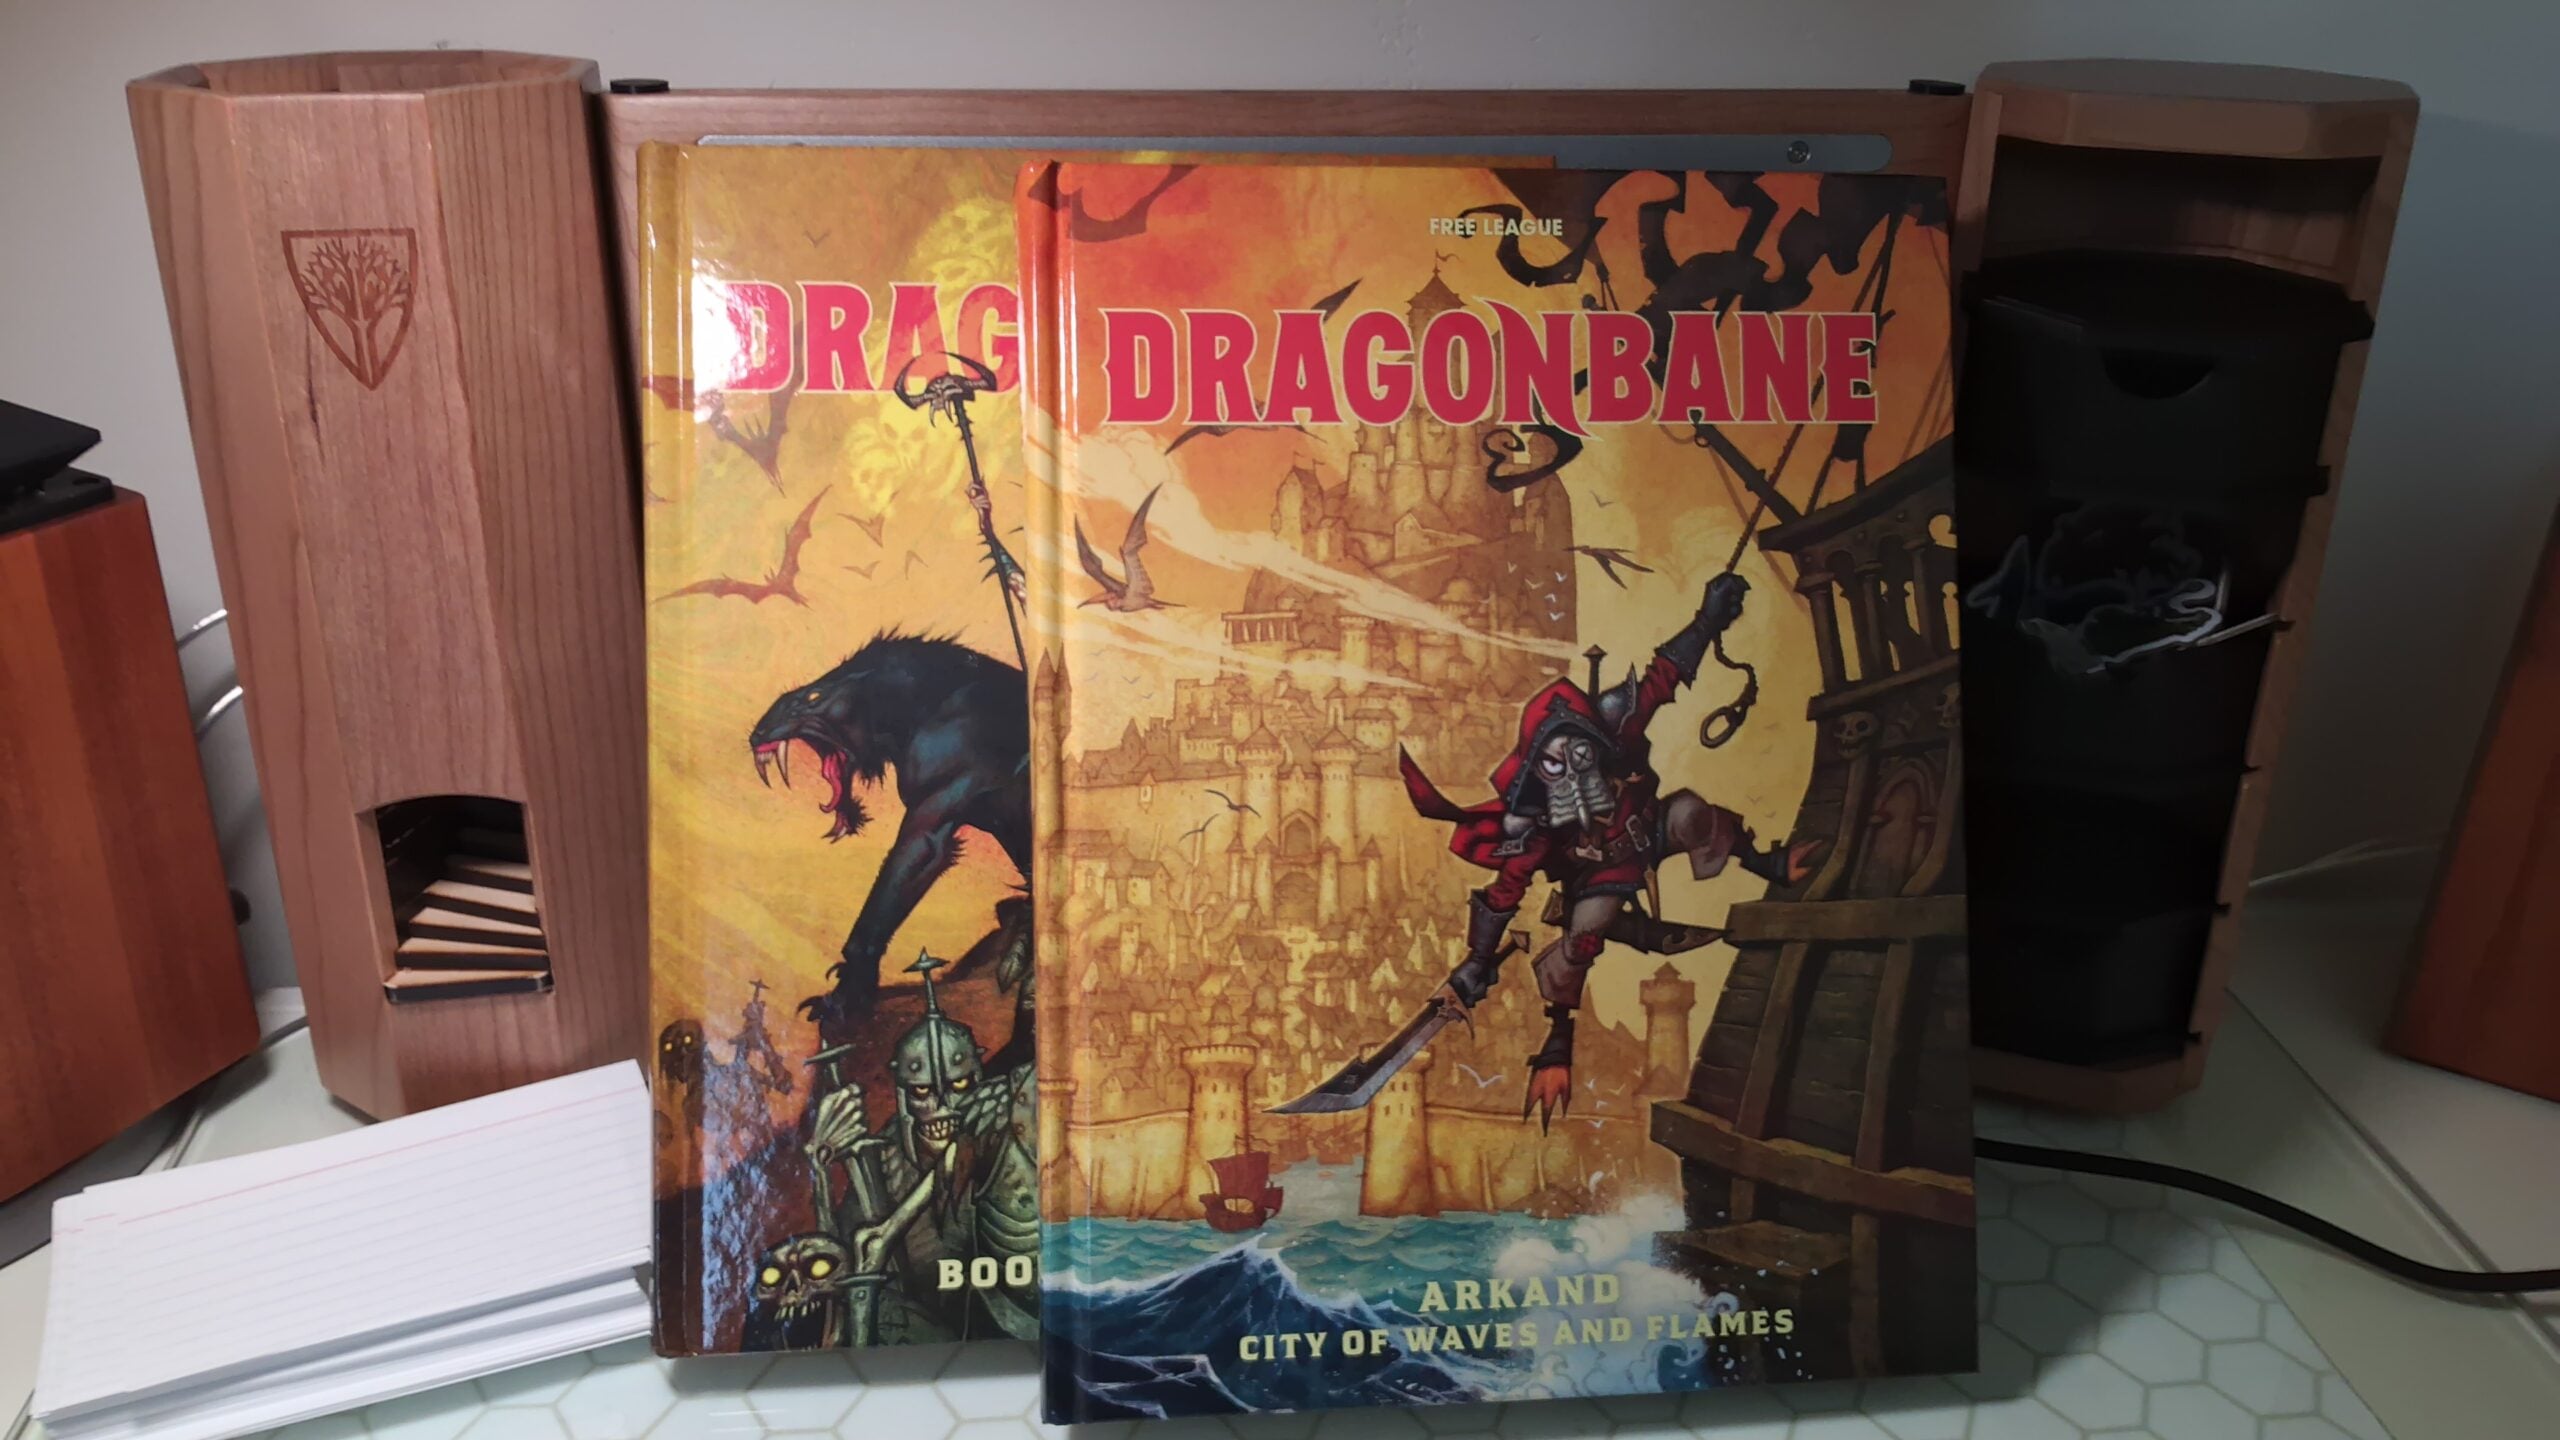
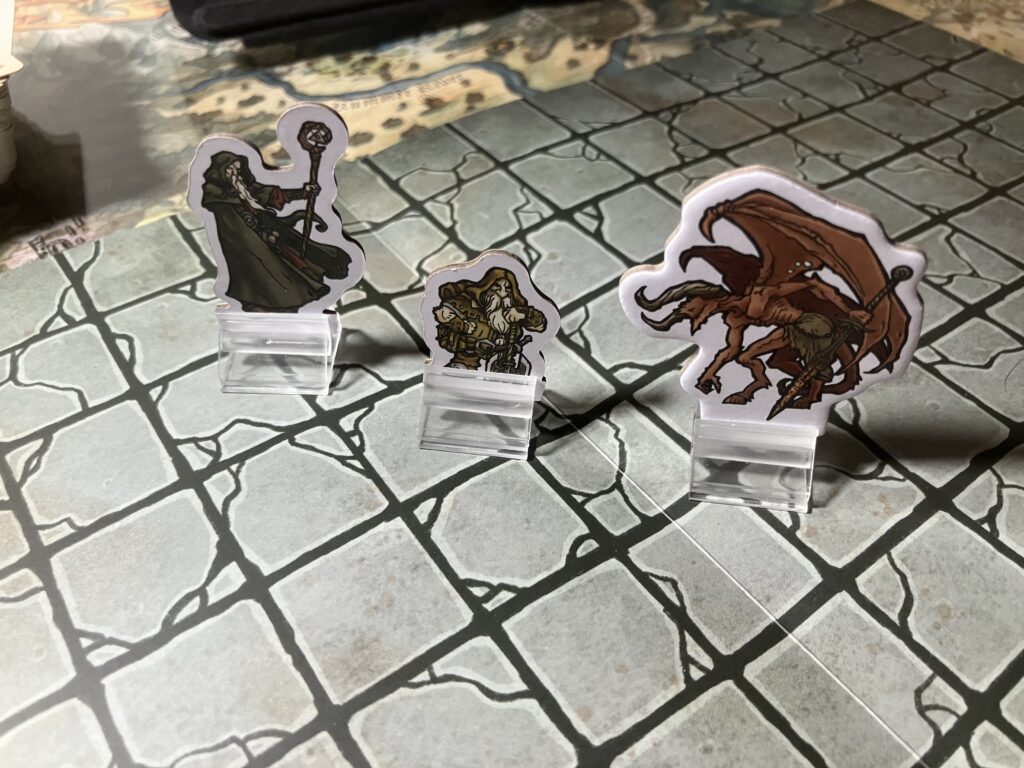
    So, I basically just opened up the battle grid included in the Starter Set, and made some standee skeletons from the 2d standees that are included. I’ve also got some from the Arkand expansion. These standees add to the immersion greatly.

    How I played out this scenario was as follows:

    I had Aodham make a SPOT HIDDEN check. He discovered the location of the trap, which I then had to choose to locate. I put this in the middle of the room.

    Then we made another SPOT HIDDEN check to locate the hidden door. It succeeded and I decided to put this directly behind the trap. Just in my mind, but with the battle map in front of me.

    Why?

    Well, I thought that was the most dramatic place. My characters were on one end of the room and so this way they couldn’t just make a bee line for the exit. They’d have to go around the trap at least.

    It turns out that when you play solo, you have to make a lot of decisions. I just figured this was where an actual dungeon designer would put things.

    Furthermore, I decided to make both characters pass a SNEAKING test after each round of movement. If there were skeletons scattered around the room, this made sense to me, because each time the PCs moved closer to the exit they would have to sneak.

    They both passed the first check, but Aodham failed the second. Battle commenced.

    I gave the skeleton a surprise attack, because it just seemed to make sense that he would get a swipe in before anyone could react if they woke him up.

    But I also gave the skeleton the prone condition, because that also made sense. If he was going to stand up, then he wouldn’t surprise anyone. So, it would either be a surprise attack while lying on the ground, or he would get up and alert them to his presence. I also didn’t think he would have time to stand up before they attacked him after he’d attacked them, even though technically you are allowed to stand up or drop to the ground freely in Dragonbane without using either your action or your movement (although you can only do it once per turn).

    So anyway, he got a good hit in with his shortsword on Aodhan, but because he was prone, the skeleton didn’t survive the round because this gave Brock both a boon on his attack roll (which mattered because his base skill in KNIVES is terrible), and an extra D6 of damage, plus the fact that his second heroic ability I had chosen at the outset was “Army of One” which allows him to attack twice. So bye bye skeleton.

    But the scuffle obviously would have woken up the other skeletons, so Brock used his movement to run into the coffin and escape. Aodhan had to dash in order to get to the coffin, because being old (which is a meaningful attribute at character creation), his movement isn’t as great as Brock’s. Fortunately, he hadn’t used an action on his turn which allowed him to dash (which counts as an action) to double his movement. He got out before the skeletons’ turn.

    The event dice turned to four.

    The third waypoint was blank. I used the location tables to invent a location, per the instructions. What I ended up with was a well in the center of a room.

    A well with a monster in it.

    I thumbed through the bestiaries I have, both in the official rulebook and the Arkand expansion, looking for water-based monsters. Being my first time playing the game, I had no idea what monster would lurk in a well. I settled on the Naiad.

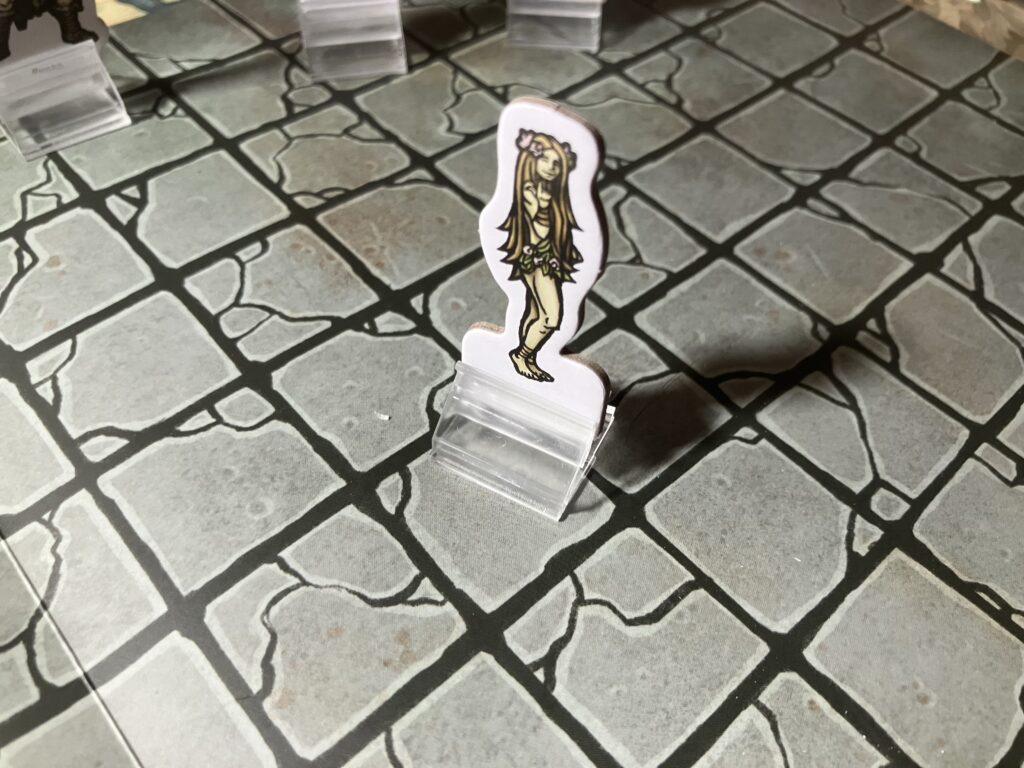
    Naiads are sort of like sirens, beautiful females who lure unsuspecting victims to the water edge where they attack.

    In this case, both Brock and Aodhan failed SPOT HIDDEN checks, so they peered over the edge of the well and came face to face with the Naiad.

    They were surprised and the Naiad made a monster attack. I rolled a D6 and got a two, which means the attack was “Broken Heart”, where if the target fails a willpower check they will despair of ever having their love for the Naiad reciprocated and succumb to the fear condition.

    Unfortunately for her, I’d already decided that Aodhan would be her target, and his willpower level is eighteen, the highest it can be.

    He is, after all, a tough old mage and this type of attack would be unlikely to work on someone like him, and it didn’t. He passed the check and the Naiad’s attack failed.

    Being so easily rebuffed, the Naiad disappeared back down into the well, and the duo continued on their way.

    The event dice turned to three.

    The fourth waypoint was also blank. So I rolled on the environment table again. These rolls came up with some interesting features.

    First, there were acid pools everywhere. Second, there was an occupied structure at the location. Third, whoever was in it was a demon. And fourth, there was a magic mirror somewhere.

    So I went back to the Arkand bestiary and came across the Chaos Demon, who can spit acid. I felt like that would explain the pools.

    But instead of attacking the Chaos Demon outright, I decided to risk a rest. Both my characters needed to heal up a little, so I used a stretch to let them heal.

    That turned the event dice to two.

    Then I decided to make a gambit. I pounded on the door of the structure. When the Chaos Demon appeared outside, instead of attacking it with a surprise or something like that, which I could have done with two characters, I decided to make a PERSUASION check and try to convince it to help us fight the goblins. I gave myself a boon on this roll by using the magic mirror (which I just gathered to be some sort of magic reflected on the surface of the pool of acid that Aodhan created) to show the Chaos Demon the approaching goblins. I told him a story about how the goblins were terrorizing the denizens of the Breach. Which was all true in fact.

    The roll was successful, even without the boon.

    The event dice turned to one.

    The goblins showed up. Four of them.

    But instead of just facing Brock, they now had to also face an elemental mage and a Chaos Demon.

    Battle ensued.

    I won’t go into all of the details of this battle, because frankly, it was long. I will just say that they managed to reduce Brock to zero HP before they were defeated. His low base skill with KNIVES made him basically useless in this fight, as he missed every single attack. Although he did absorb all of their damage.

    But the Chaos Demon’s “Unseen Force” attack took out all but one of the goblins in the end, even when the last one tried to run away, it got him. I literally kept rolling fives for him (which select his monster attack), and it hit almost every time.

    The mage’s FIREBALL took out the other one. He used his HEALING skill to revive Brock after the battle.

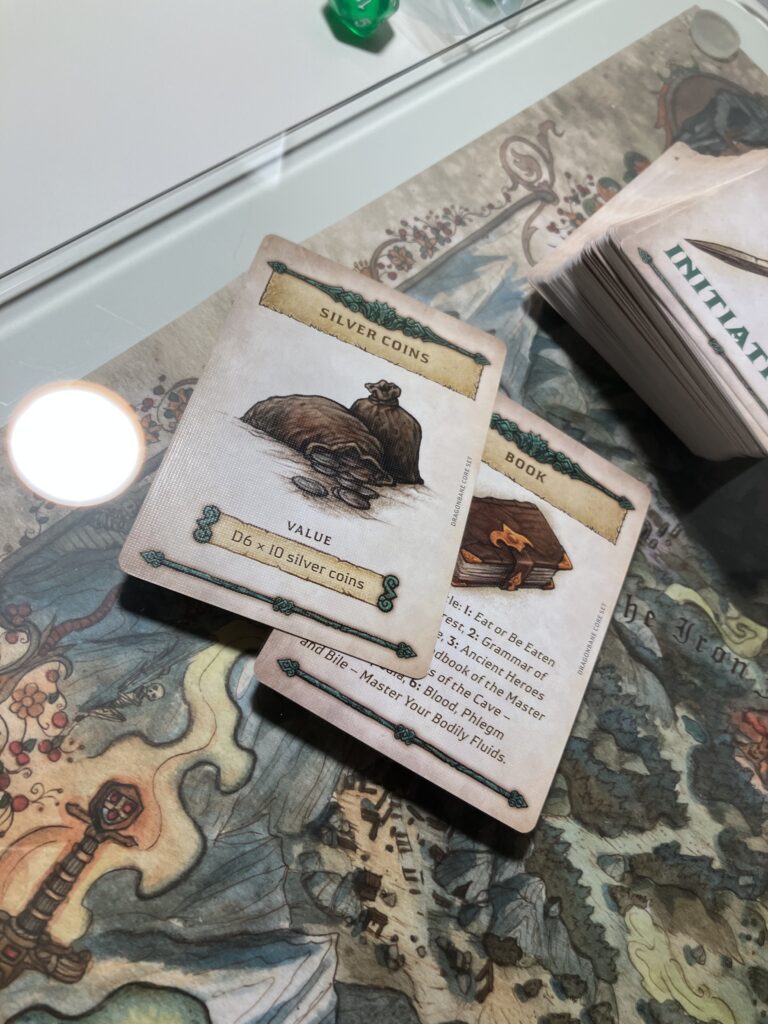
    They searched the bodies and found two treasures, which made sense because the goblins had been plundering the Breach. I drew two treasure cards out of the deck and they came out as a book called “Handbook of the Master Carpenter” and ten silver coins, which kind of sucked because you were supposed to roll a D6 and then multiply it by ten. I rolled a one. They also found a quiver of arrows on the bodies. The Carpentry book was pretty random but I used it to give Brock another heroic ability after the mission, considering he is an artisan and there is a MASTER CARPENTER ability. This went along with his MASTER TANNER heroic ability.

    But the mission wasn’t quite over. The fifth and final waypoint was given by Stone-Gaze in the mission summary: it was an alter room where the Demon Cultists were about to sacrifice Gorum.

    This was the moment of truth. But the description of the waypoint hinted that the Cultists were unlikely to stand their ground, so instead of attacking outright, I had the Chaos Demon (he was still with us) and Brock make INTIMIDATION (a kind of PERSUASION check that turns on Strength instead of Charisma) checks on two of the cultists. The mage has a weakness and that is that he is kind of a scaredy cat, so I didn’t think he would try and intimidate anyone.

    But it didn’t matter, Brock and the Chaos Demon succeeded and the targeted cultists fled the alter room.

    With their numbers diminished, the rest of the cultists broke and ran.

    The party cut the orc’s bonds and freed him.

    They thanked the Chaos Demon, who returned to his dwelling. But not before taking a picture.

    replay of dragonbane solo adventure from alone in deepfall breach

    So, mission accomplished.

    I had them all return to the surface so Brock could buy a handaxe, because he does have skill in AXES, and sell his knife. And I made some mostly unremarkable advancement rolls for Aodhan.

    Now, to find the Shard.

    This first experience with solo play actually turned out more suspenseful than I would have thought. When you control everything, I wondered how the experience would actually work as a game, but there is so much randomness with the dice and the tables and even just the randomness of turning the pages in the bestiary, that everything sort of organically came together without all that much input from me. I just rolled with it, so to speak. And that seems to be the trick. At least so far.

    Thanks for reading!

  • Hello world!

    Welcome to WordPress. This is your first post. Edit or delete it, then start writing!